This post contains affiliate links. Amanda Kammarada is part of the TombowUSA Affliate Program.
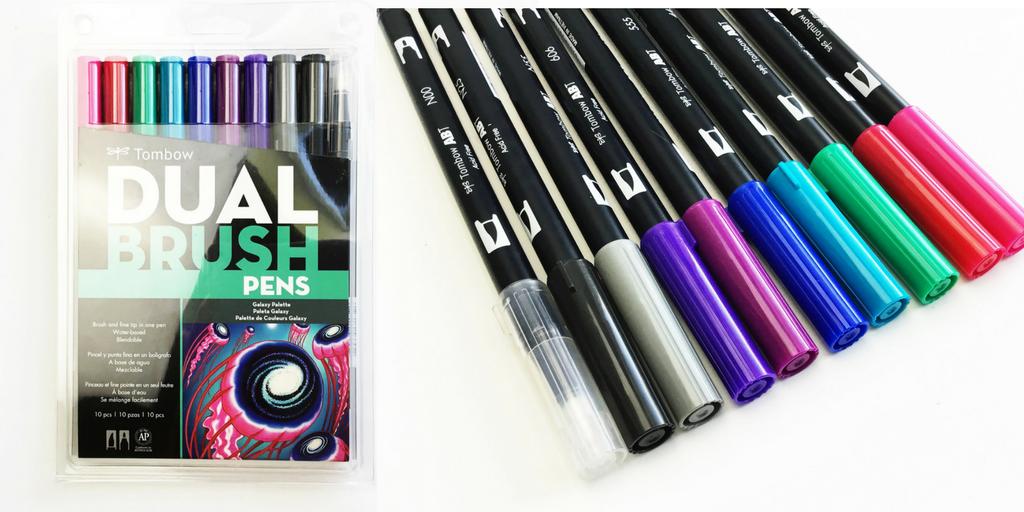
It’s Galaxy Week here at Amanda Kammarada Hand Lettering! Why, you ask? I’m celebrating the release of Tombow’s Galaxy Palette Brush Pen Set! And let me tell you, these colors go together so perfectly. You will love the combinations! Today, I’m going to show you 3 ways to make Galaxy lettering using these particular colors.
While this particular set is new, the brush pen colors are not. These colors already exist- Tombow has just put them together to create a specific palette for a galaxy vibe. You’ll find the following colors in this set: 755, 725, 296, 443, 555, 676, 606, N25 & a colorless blender.
So grab your pens and let’s get started!
For all of these techniques I’m using Canson Mixed Media Paper.
TECHNIQUE 1: USING THE BLENDING PALETTE
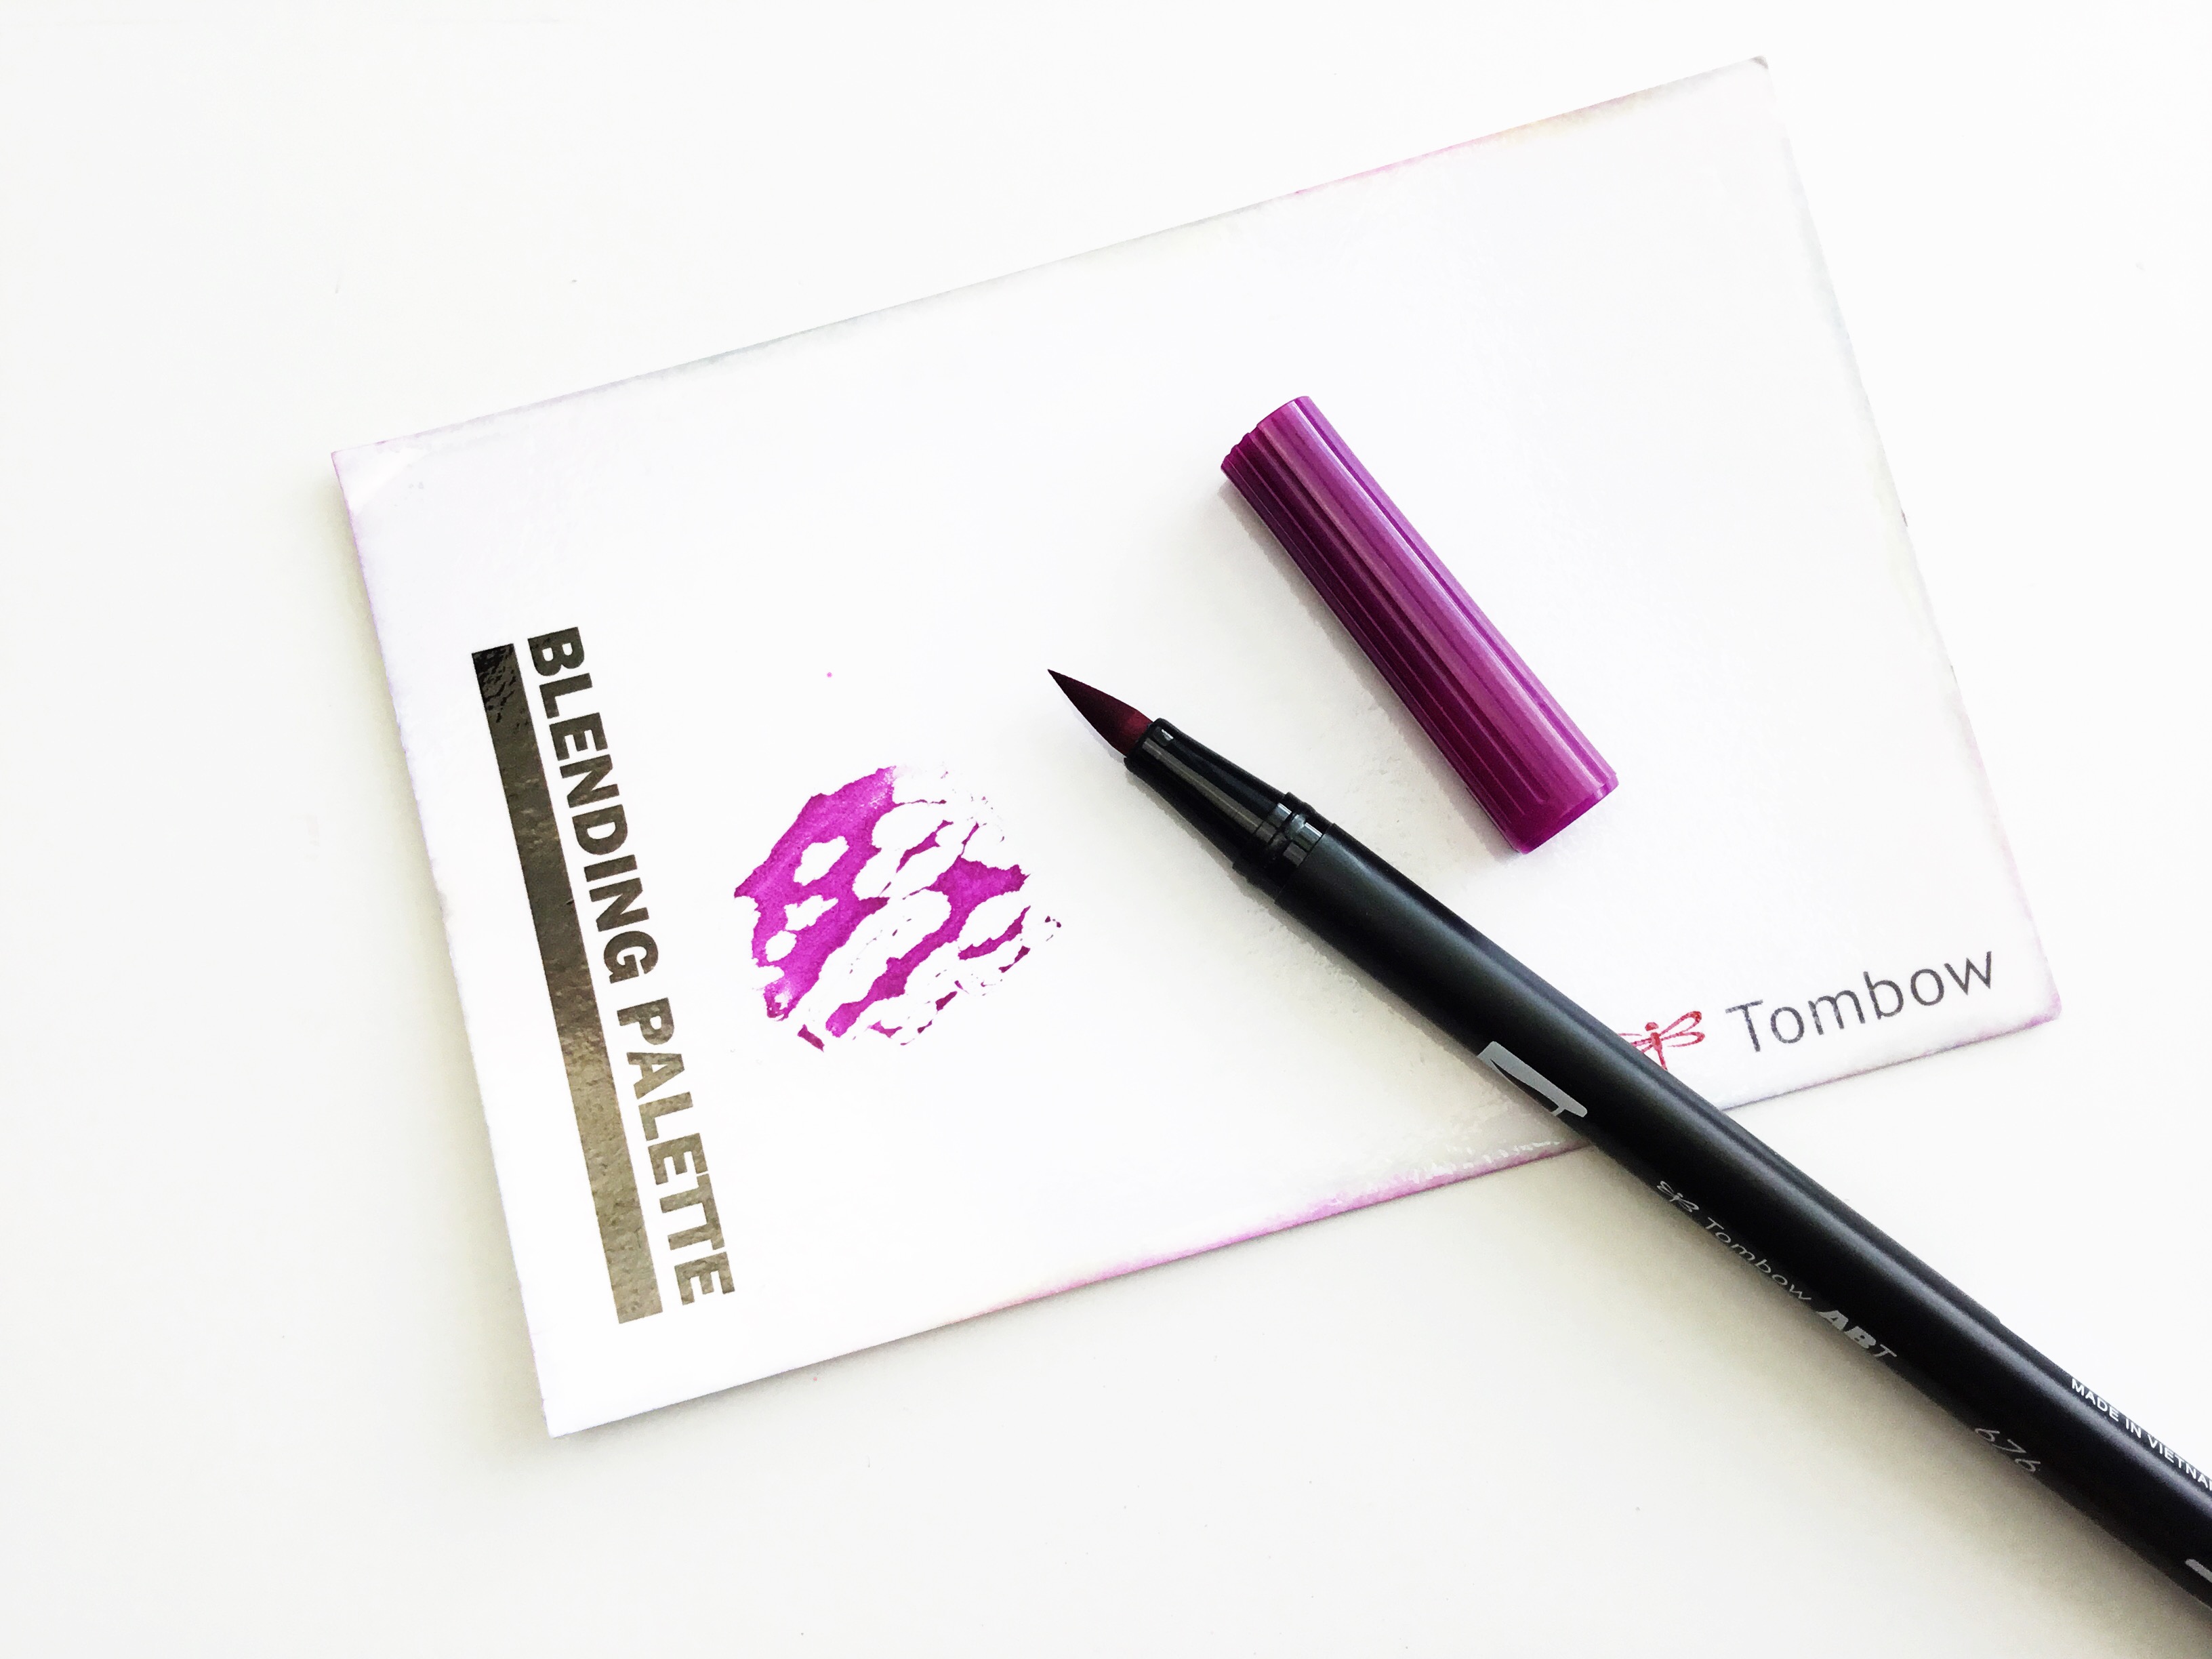
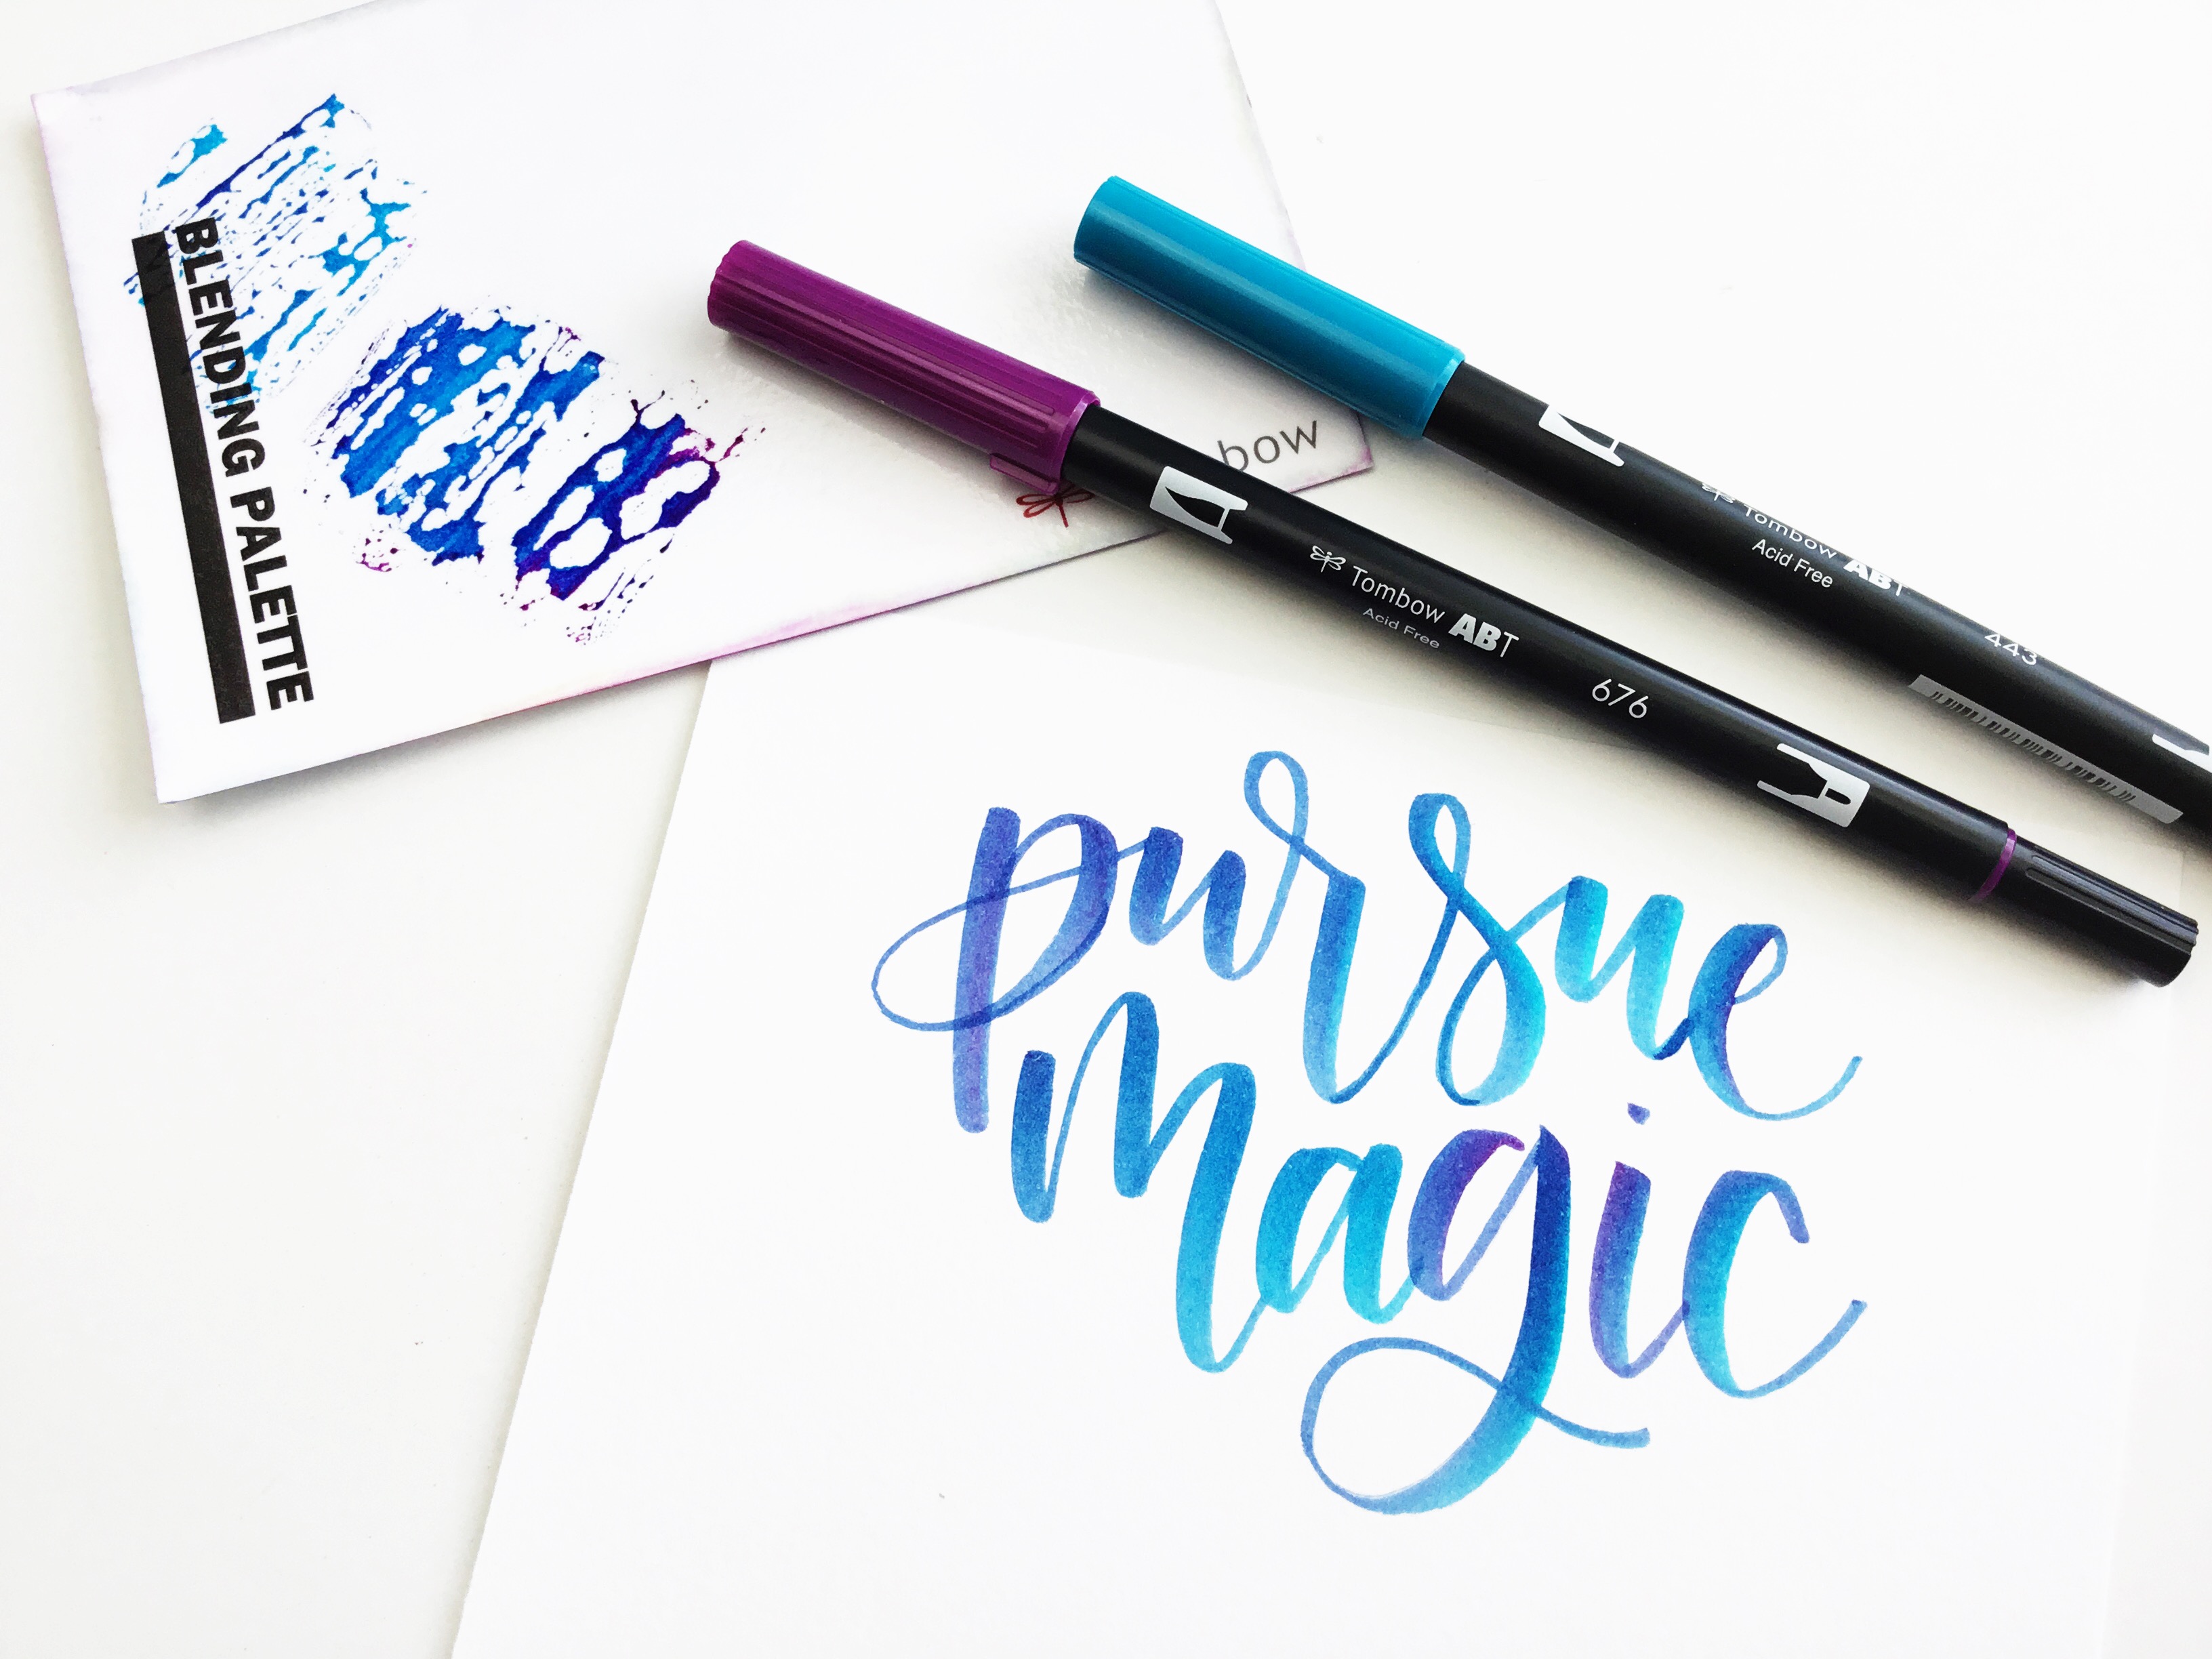
If you don’t have the Tombow blending palette yet, I encourage you to get one! It provides an easy way to blend your Tombow brush pens and create beautiful and seamless blended color combinations. If you don’t have one, a laminated surface will work (including the plastic case your brush pen set came in).
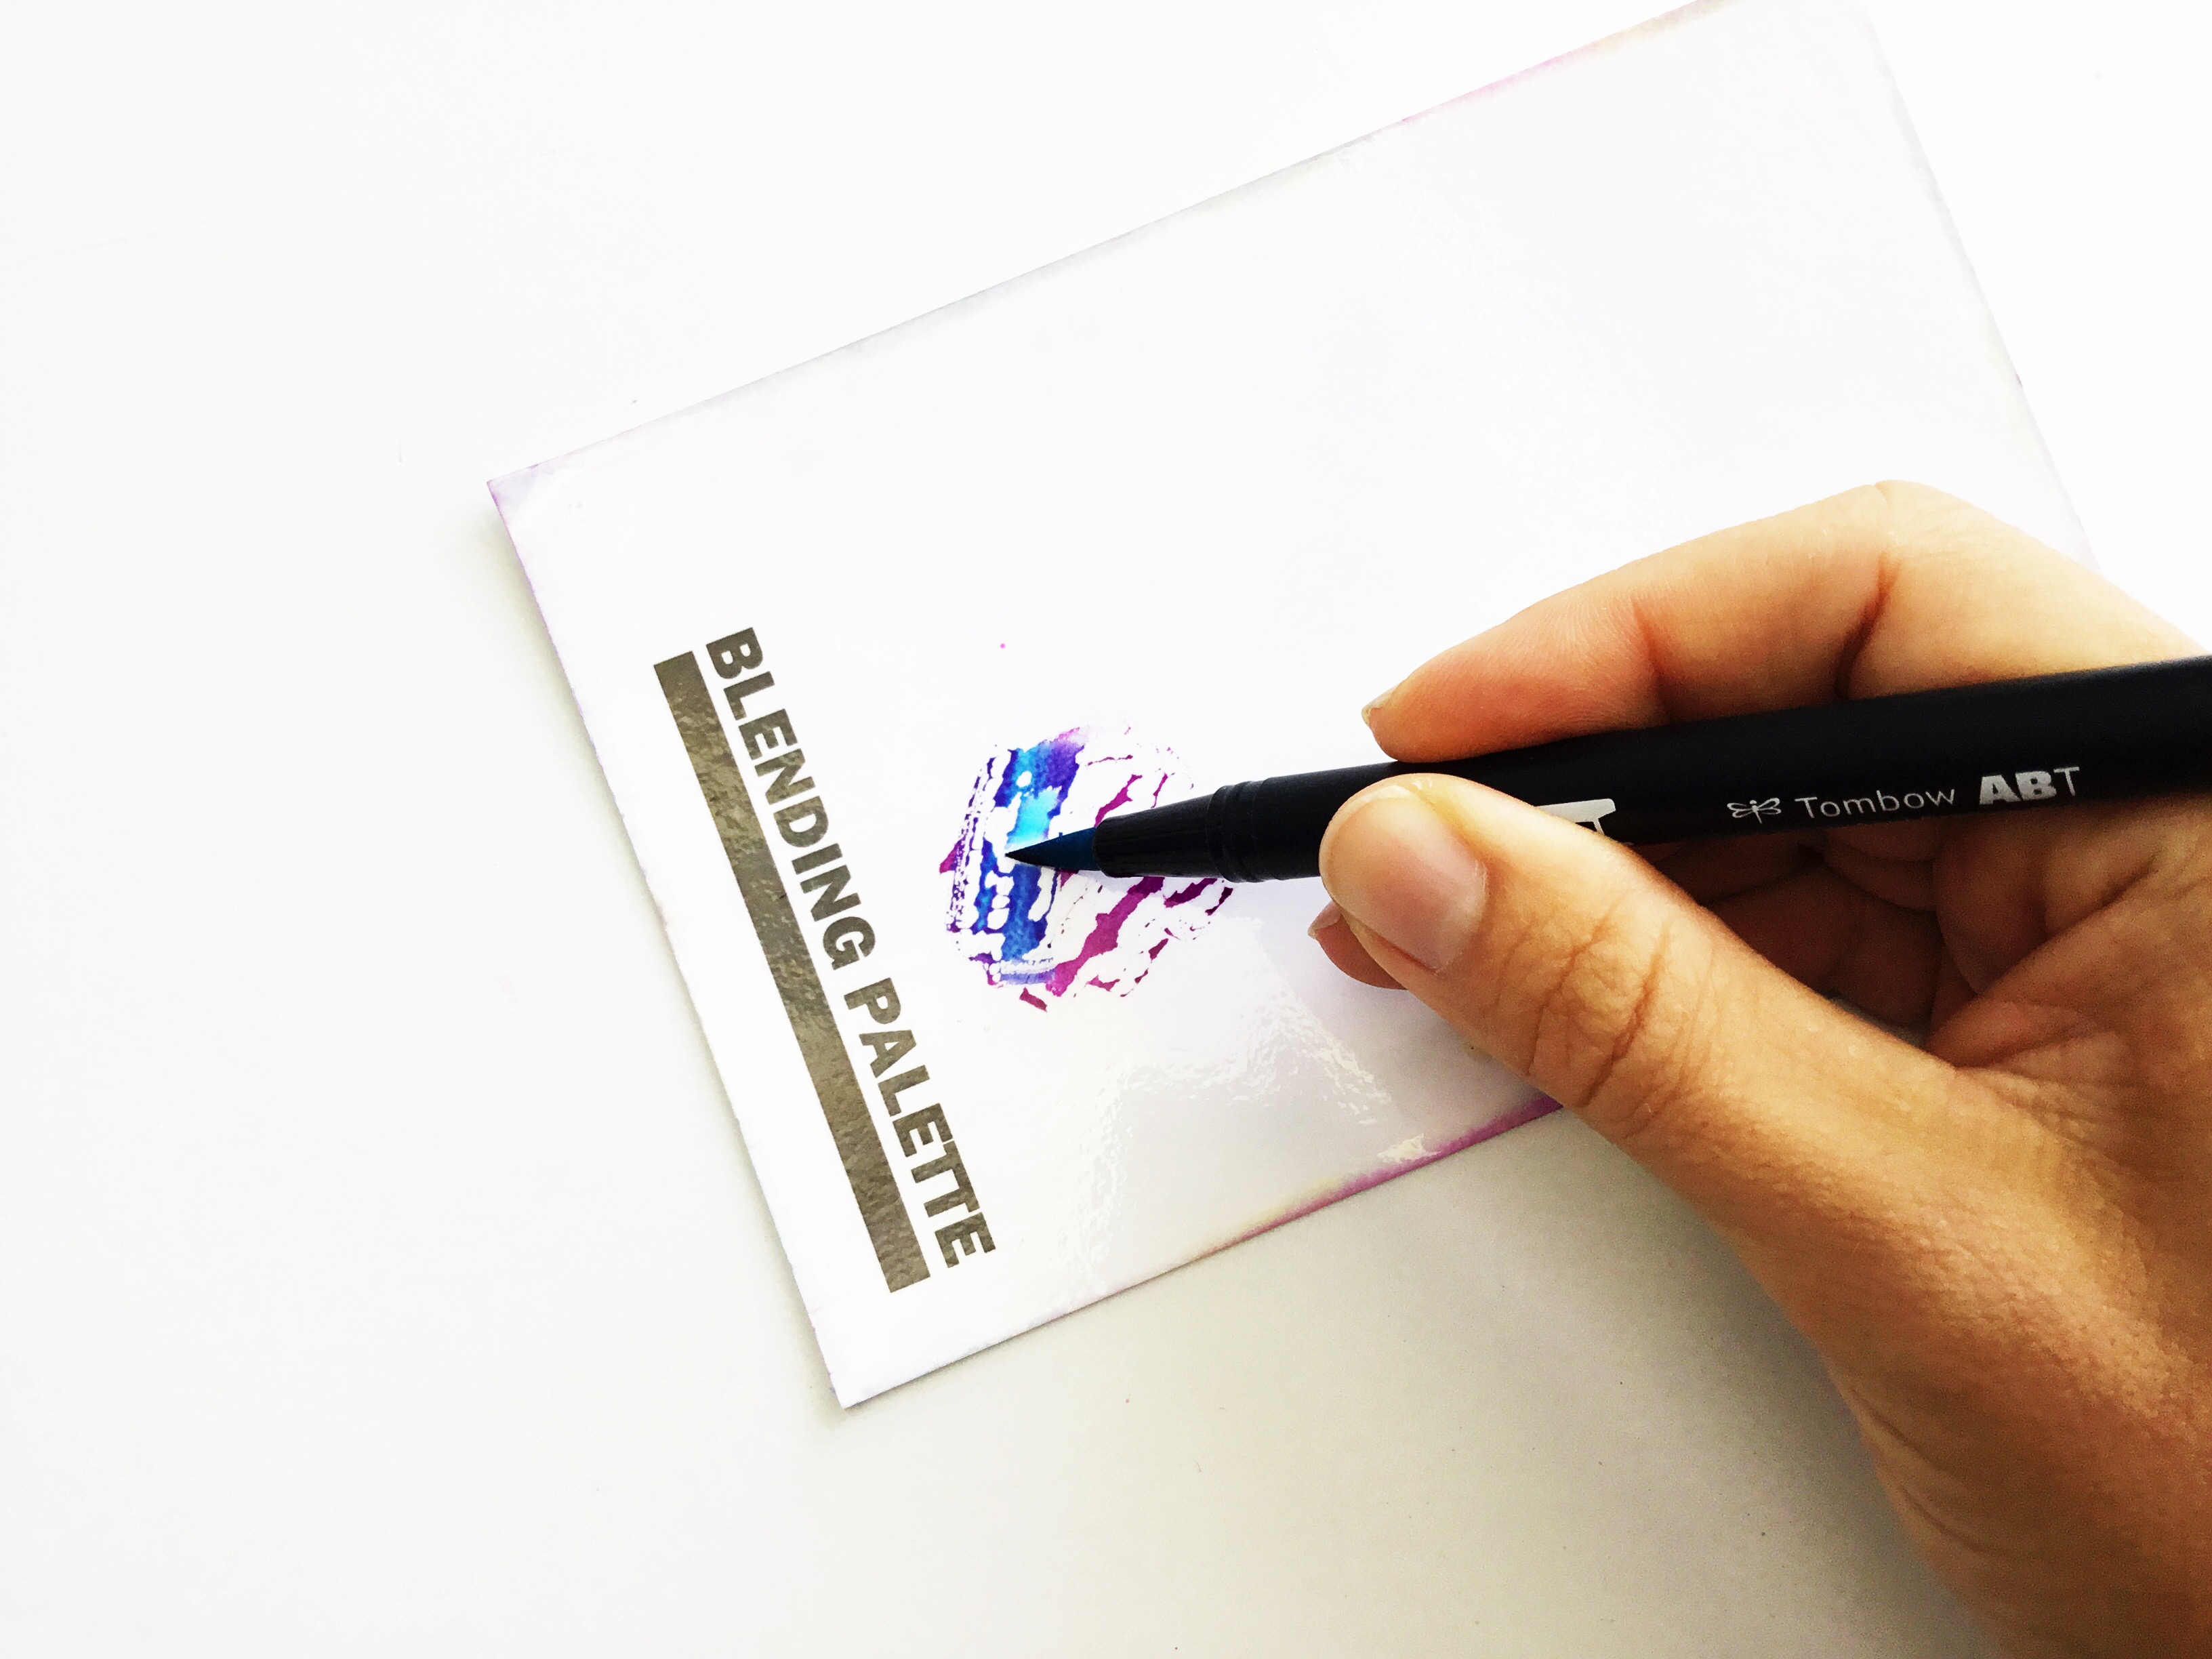
To create the galaxy look pictured above, we are going to use brush pen colors 676 (purple) & 443 (light blue). The darker color always goes on the blending palette.
You’ll use the lighter color, in this case the blue, to pick up some of the purple by rubbing the tip onto the palette. You’ll even see some blending magic right on the palette! And don’t worry about your brush pens– they are self cleaning. Once you are finished, just rub the tip out on paper or your palette and it will go right back to its original color.
Now letter! Isn’t this blending beautiful? Depending on the length of your word, you’ll start to see the original blue coming through. At this point, pick up some more color off your blending palette and continue. It will create the perfect gradient!
We are finished yet! Now, we need to add the details to give it that galaxy feel. Using the gray (no. N55), carefully add shadows to each letter. My easy rule of thumb for adding shadows is to pick either the right or left of each stroke and add the shadow. I prefer to put mine on the right side.
Now, use a white Gelly Roll pen (or any other white pen you like) to add some stars! The white really makes it pop.
TECHNIQUE 2: USING THE COLORLESS BLENDER PEN
Each set of Tombow Brush Pens contains the colorless blender pen. I’ll admit that when I first received one I had no clue what it is for. Now that I know how to use it, it’s become one of my favorite go-to pens.
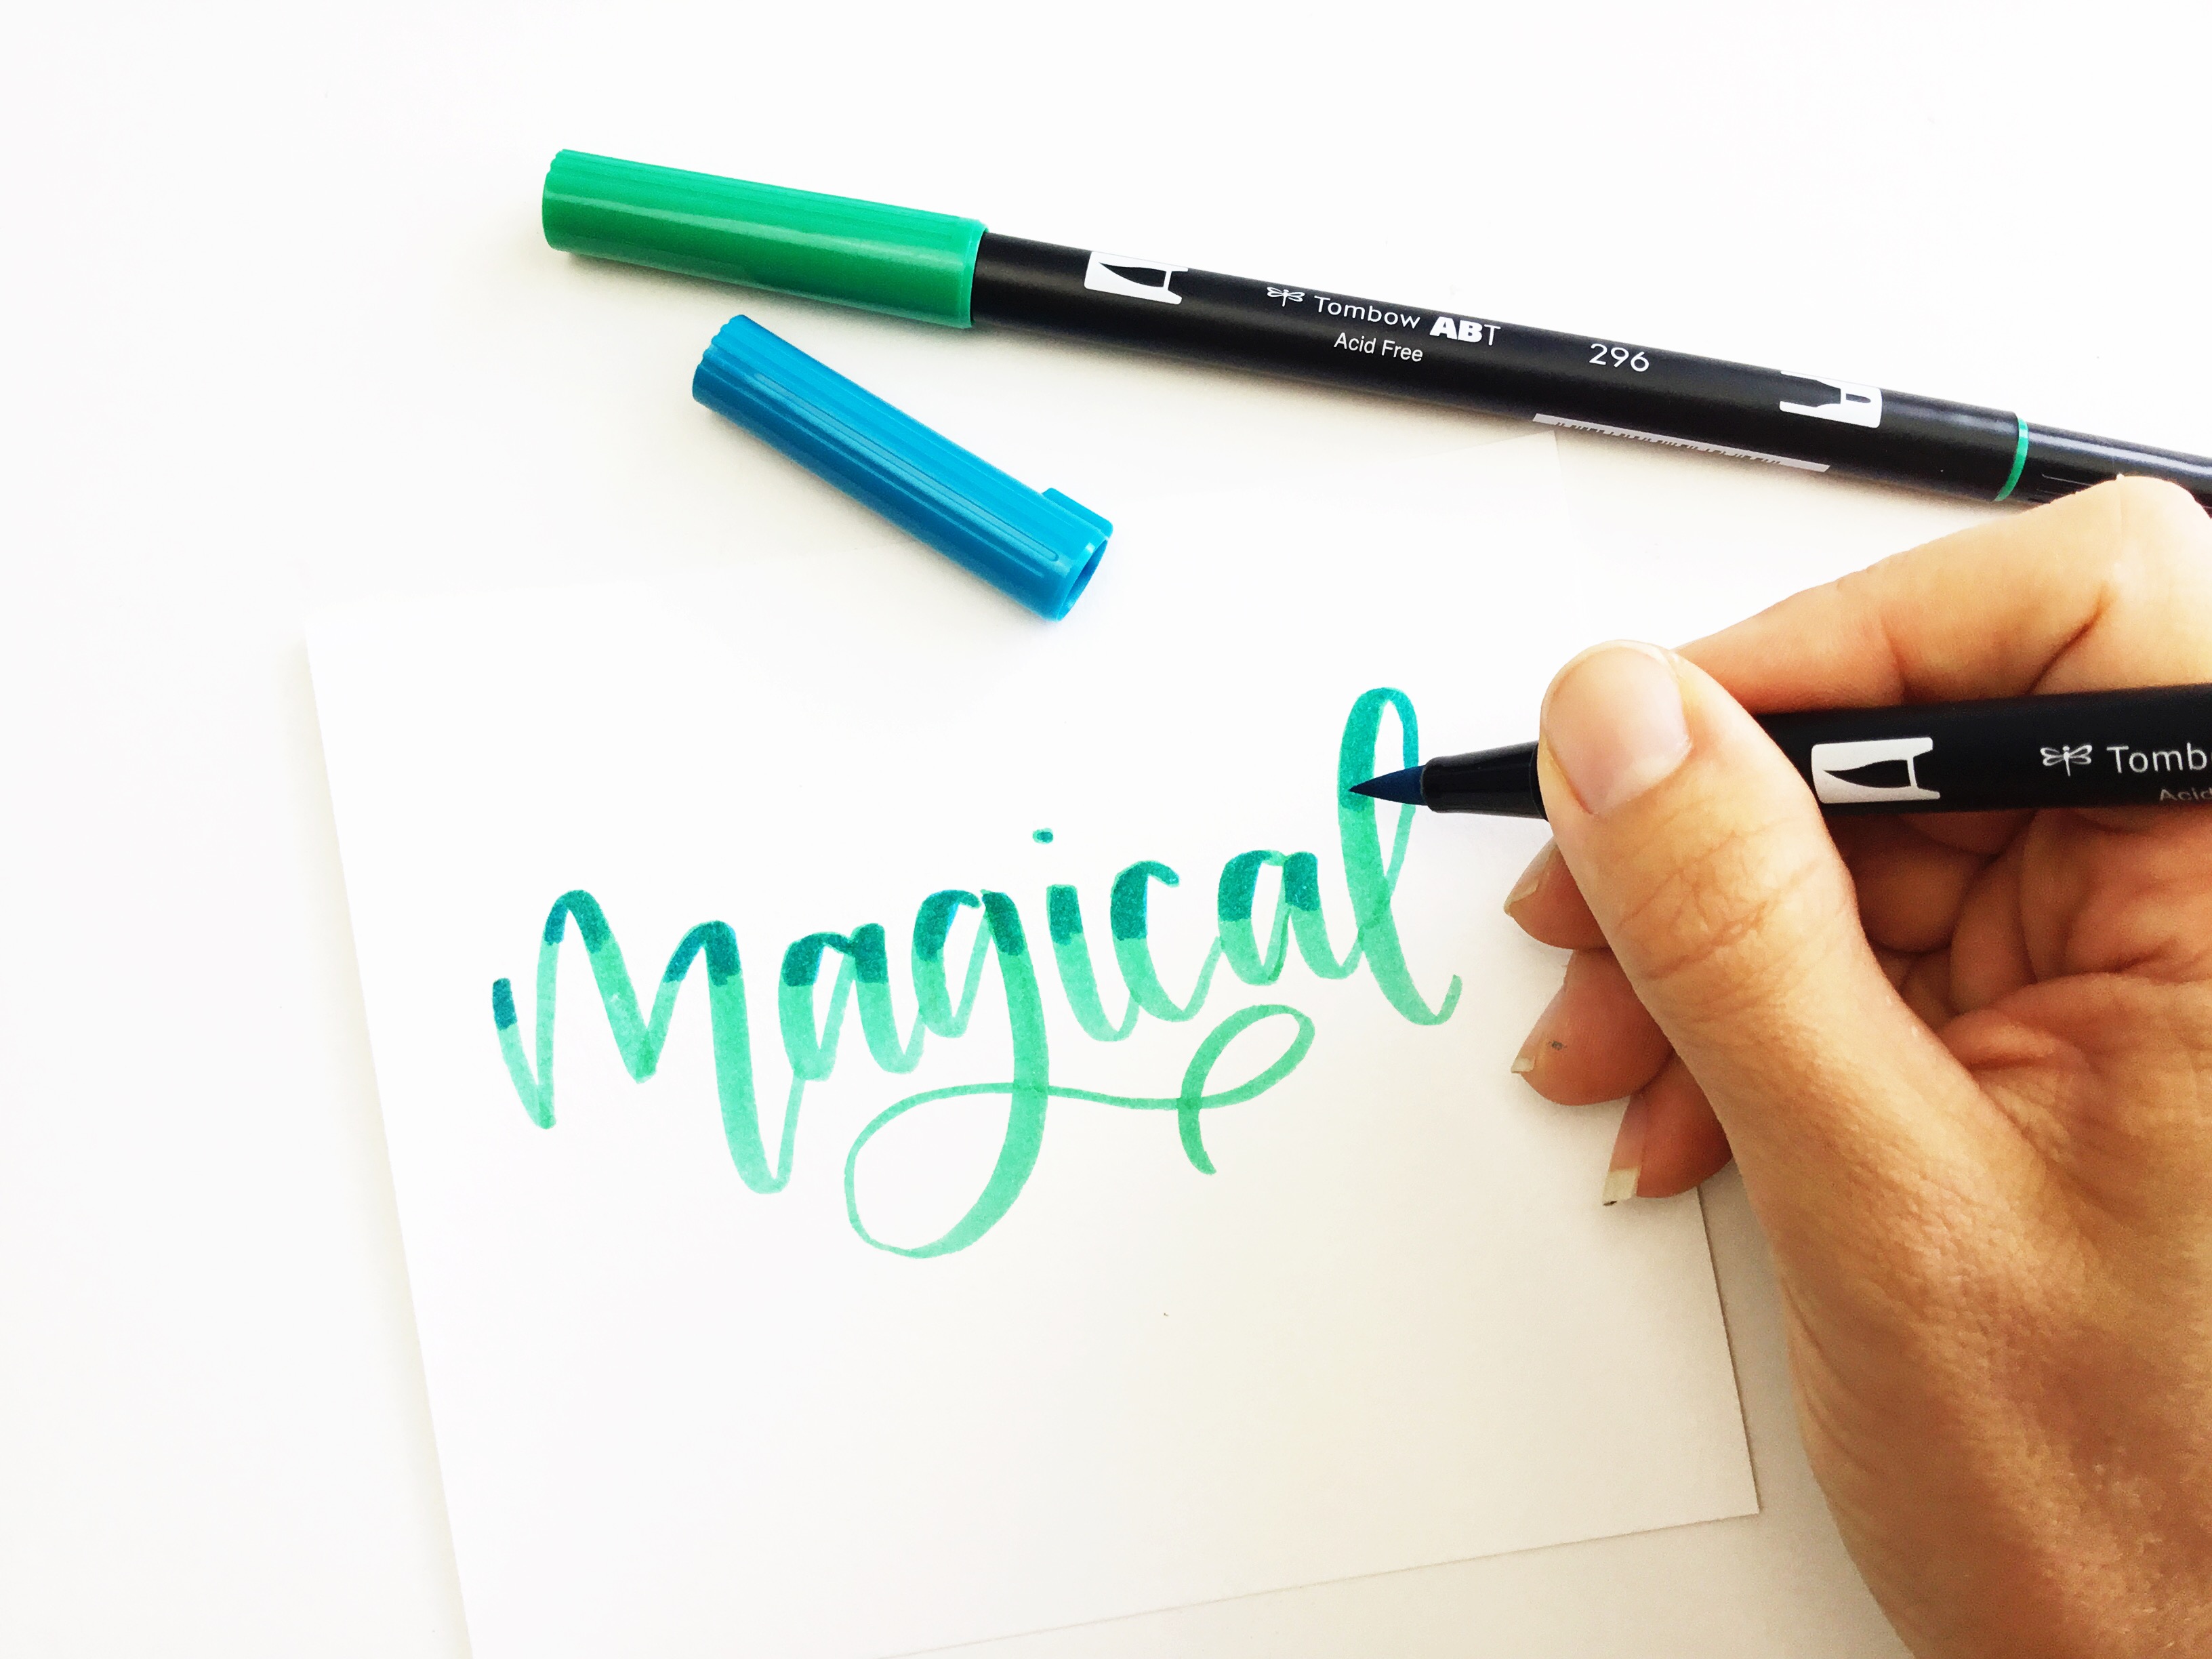
For this gorgeous color combo, you’ll need brush pen no. 296, 443, 725 & the N00 colorless blender which is the clear one. I like to call this one the “mermaid galaxy”.
First, letter your word in one color. I’m starting with green 296 here.
Now, let’s add some color! Add a little bit of blue 443 at the tops of the letters. You’ll see why in a second!
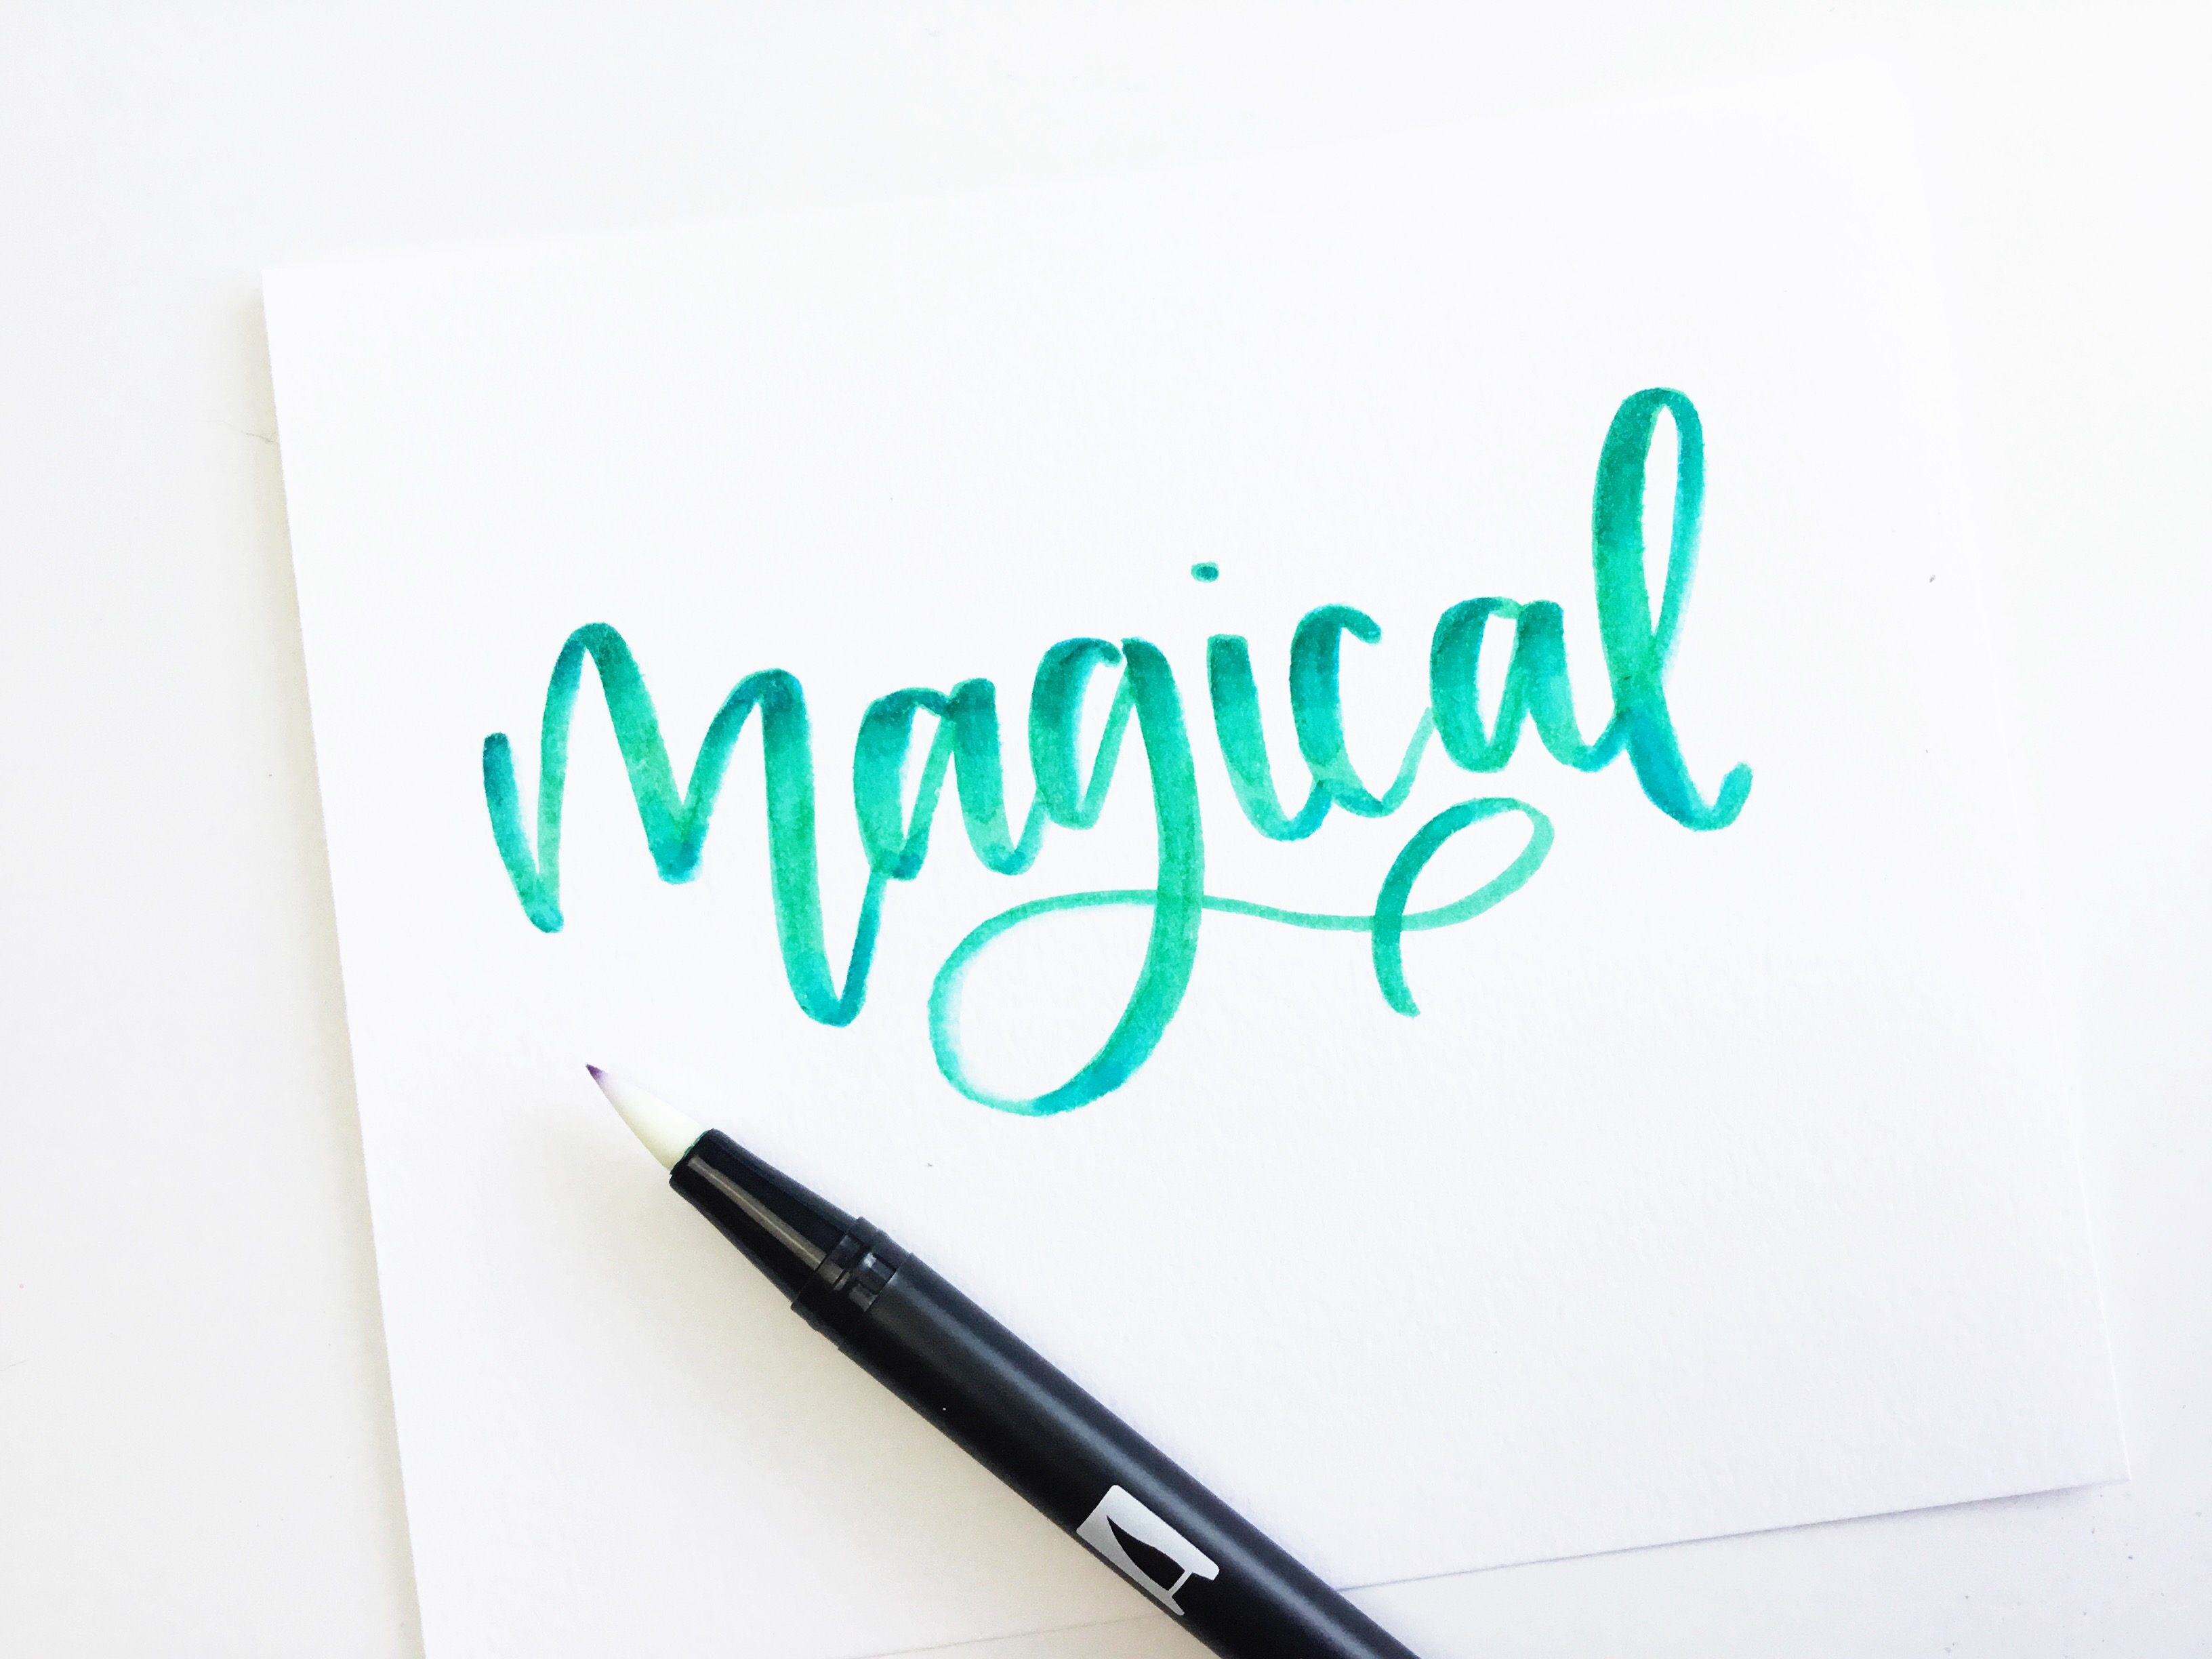
Using the colorless blender, pull down the blue from the top and blend it down. It doesn’t take much pressure to blend with this pen! It’s pretty magical watching the colors blend. And again, like all Tombow brush pens, it’s self cleaning. So after you’re finished blending your blue and green, rub the tip on paper until it goes back to clear.
I did go back and add a little bit on the blue at the bottoms of the letters as well. Add that and blend again.
Now, repeat that process with the other colors. I added a little bit of pink, then blended. Then a few touches of black and blended. Remember to clean off the blender pen each time or you’ll still have other colors on the tip. It doesn’t look like much now, but wait until we add the details!
Use your gray pen to add the shadows and don’t forget the stars!
TECHNIQUE 3: WATERBRUSH BLENDING
Tombow brush pens are water based which allows them to blend so easily- especially with water! So grab a waterbrush for this next technique.
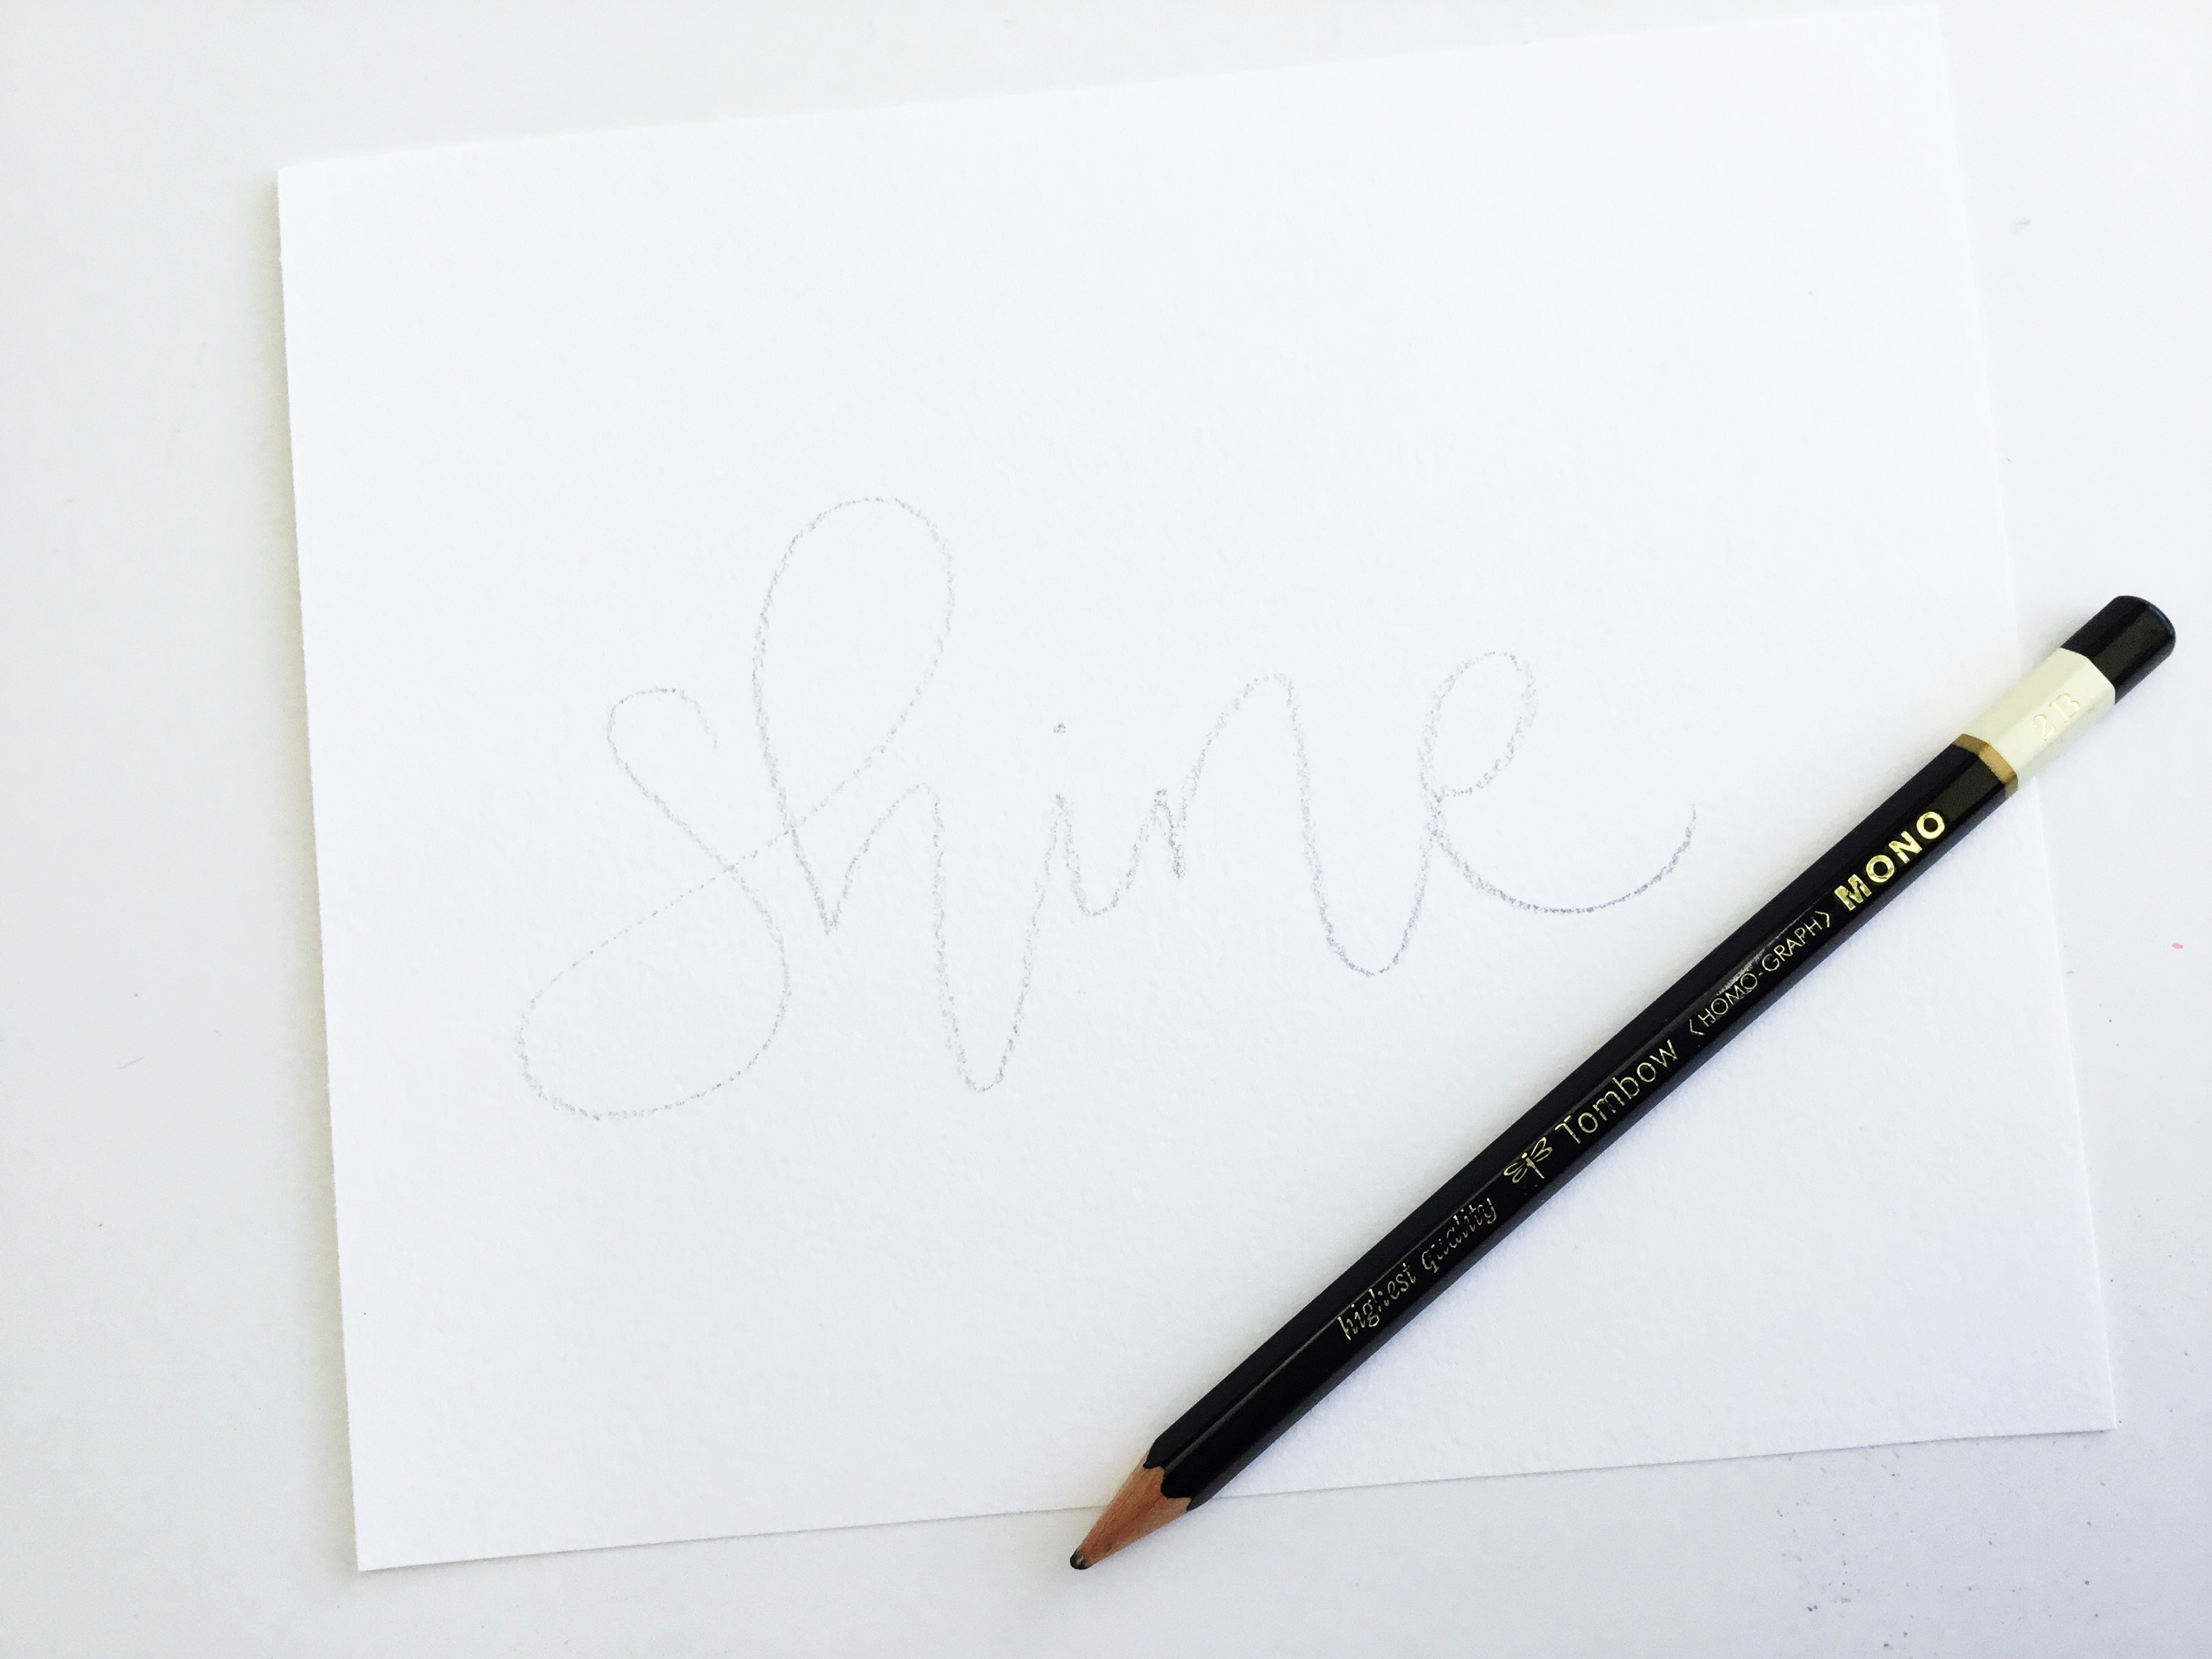
First, you’ll need to sketch out your design.
Create an outline of your letters. I love using a Tombow MONO Drawing pen for the outline because it would bleed when it’s get wet. Make sure to erase your pencil lines!
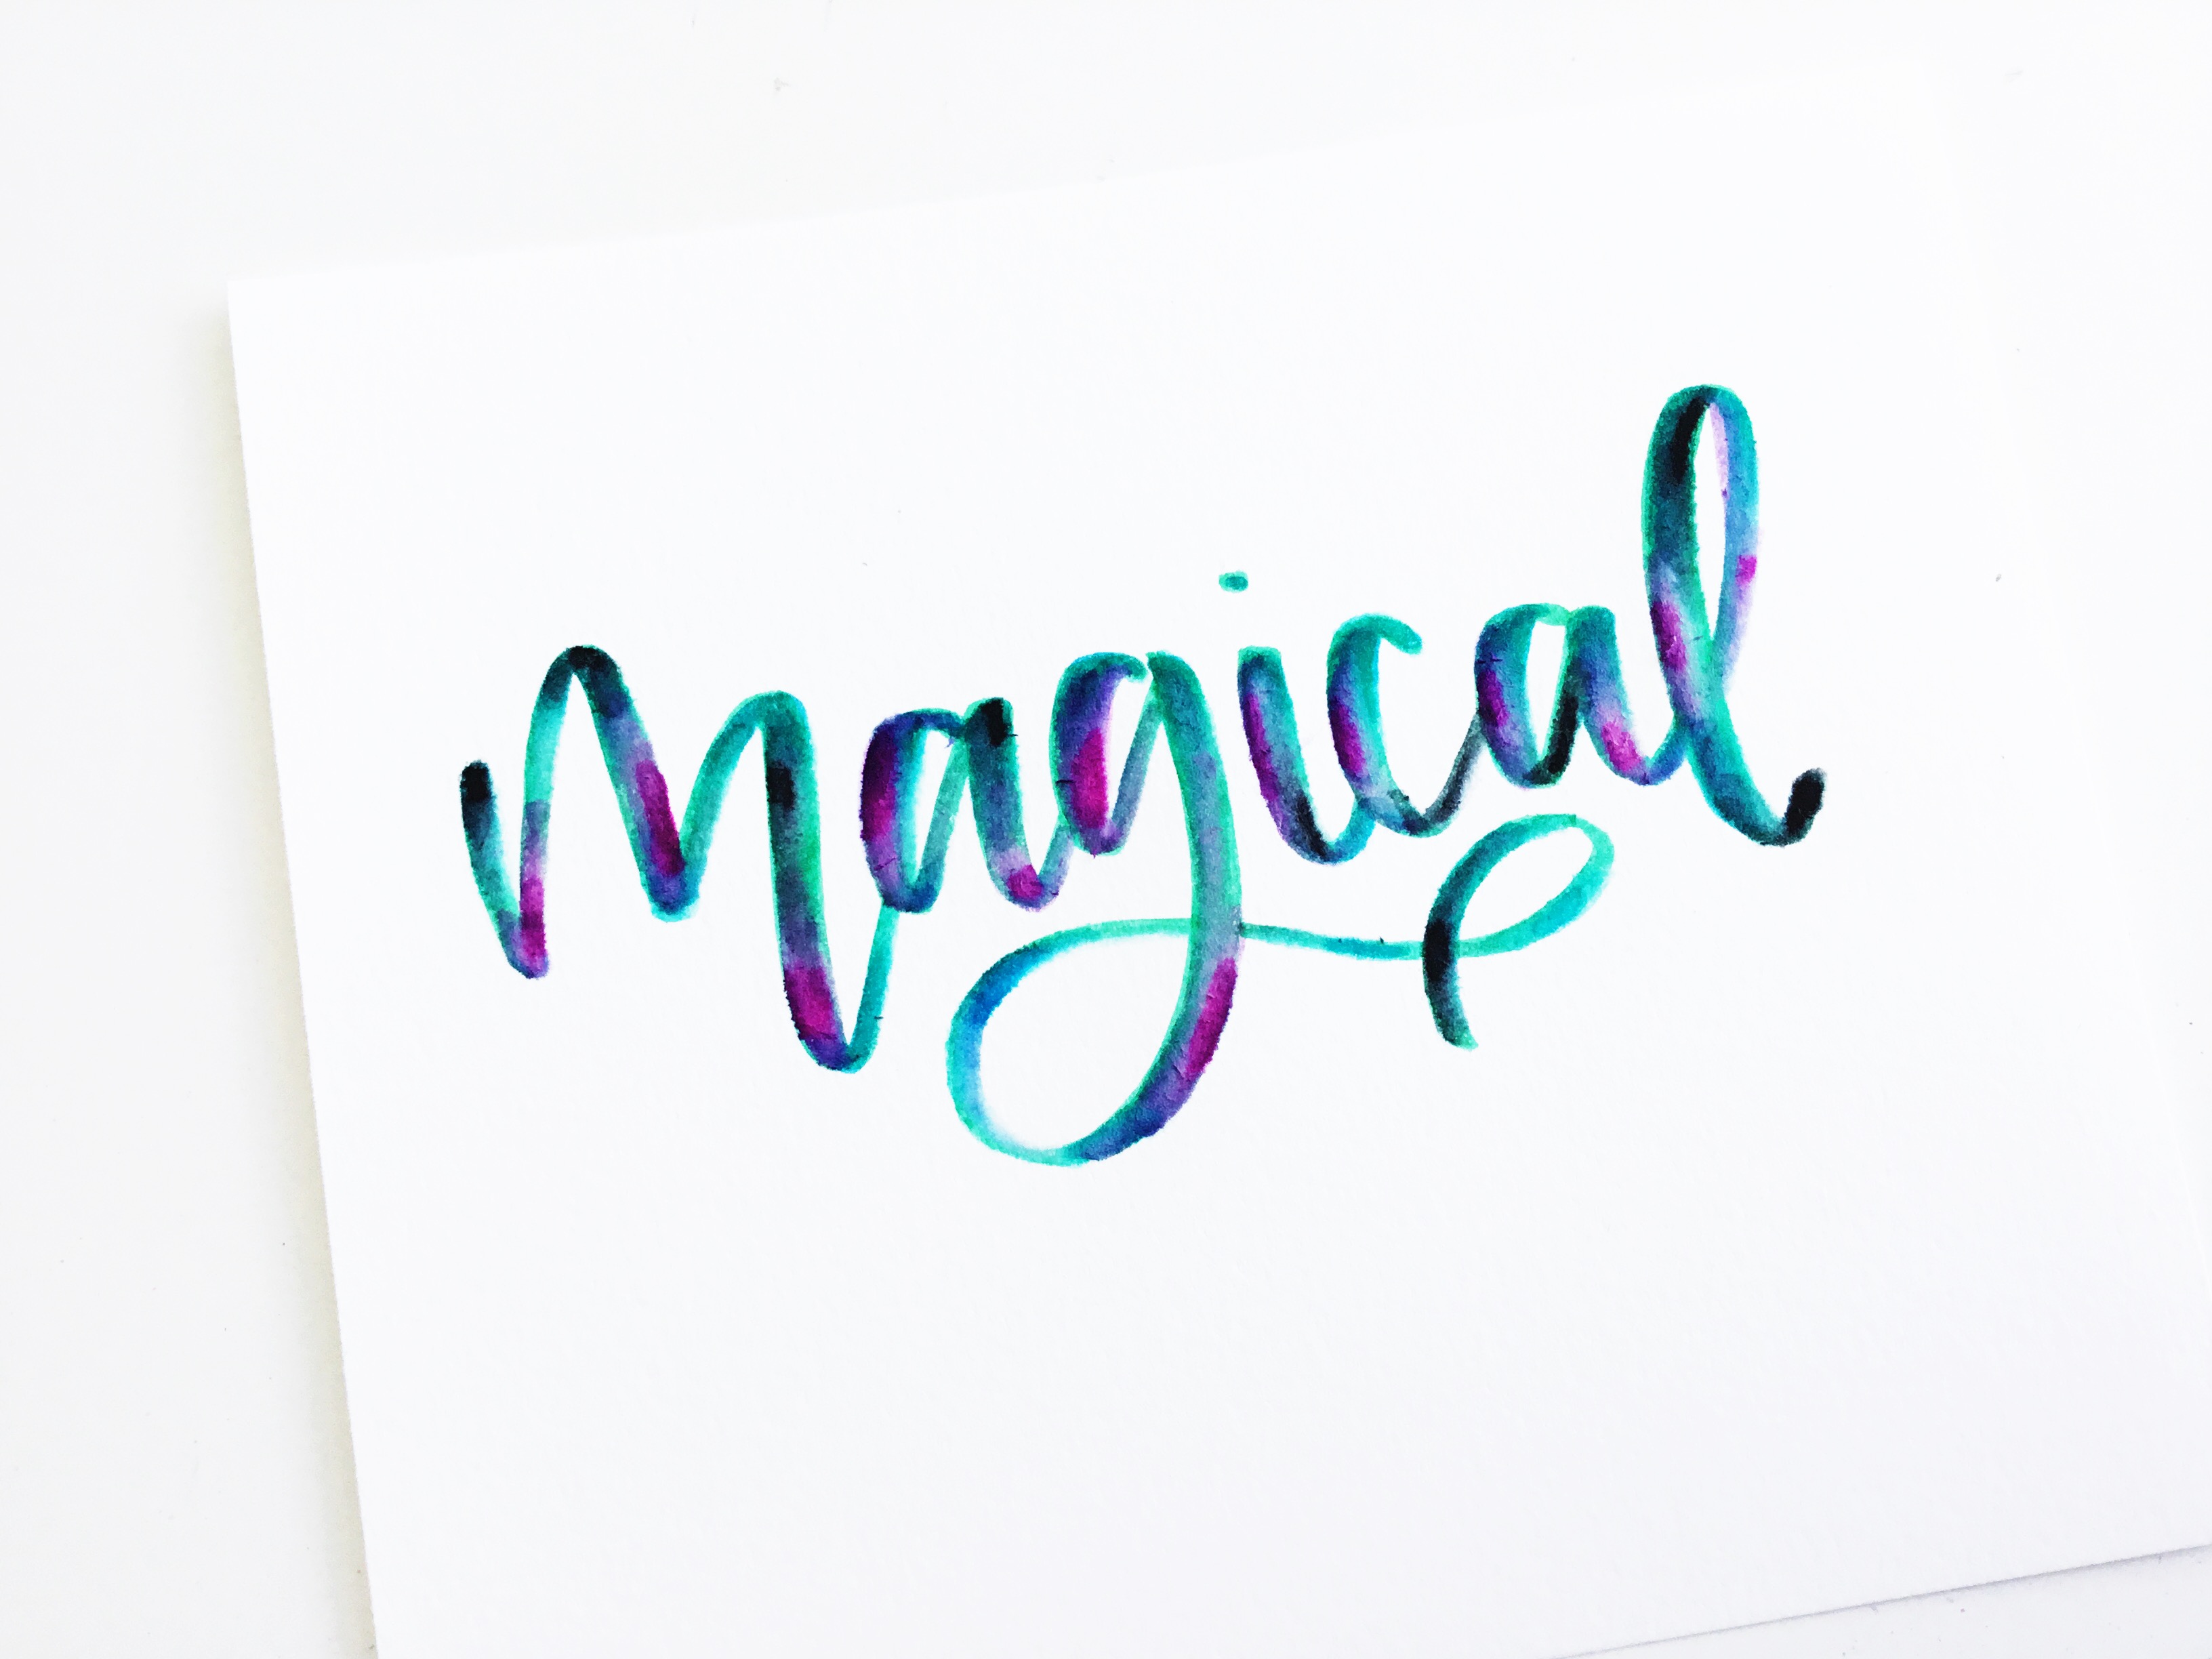
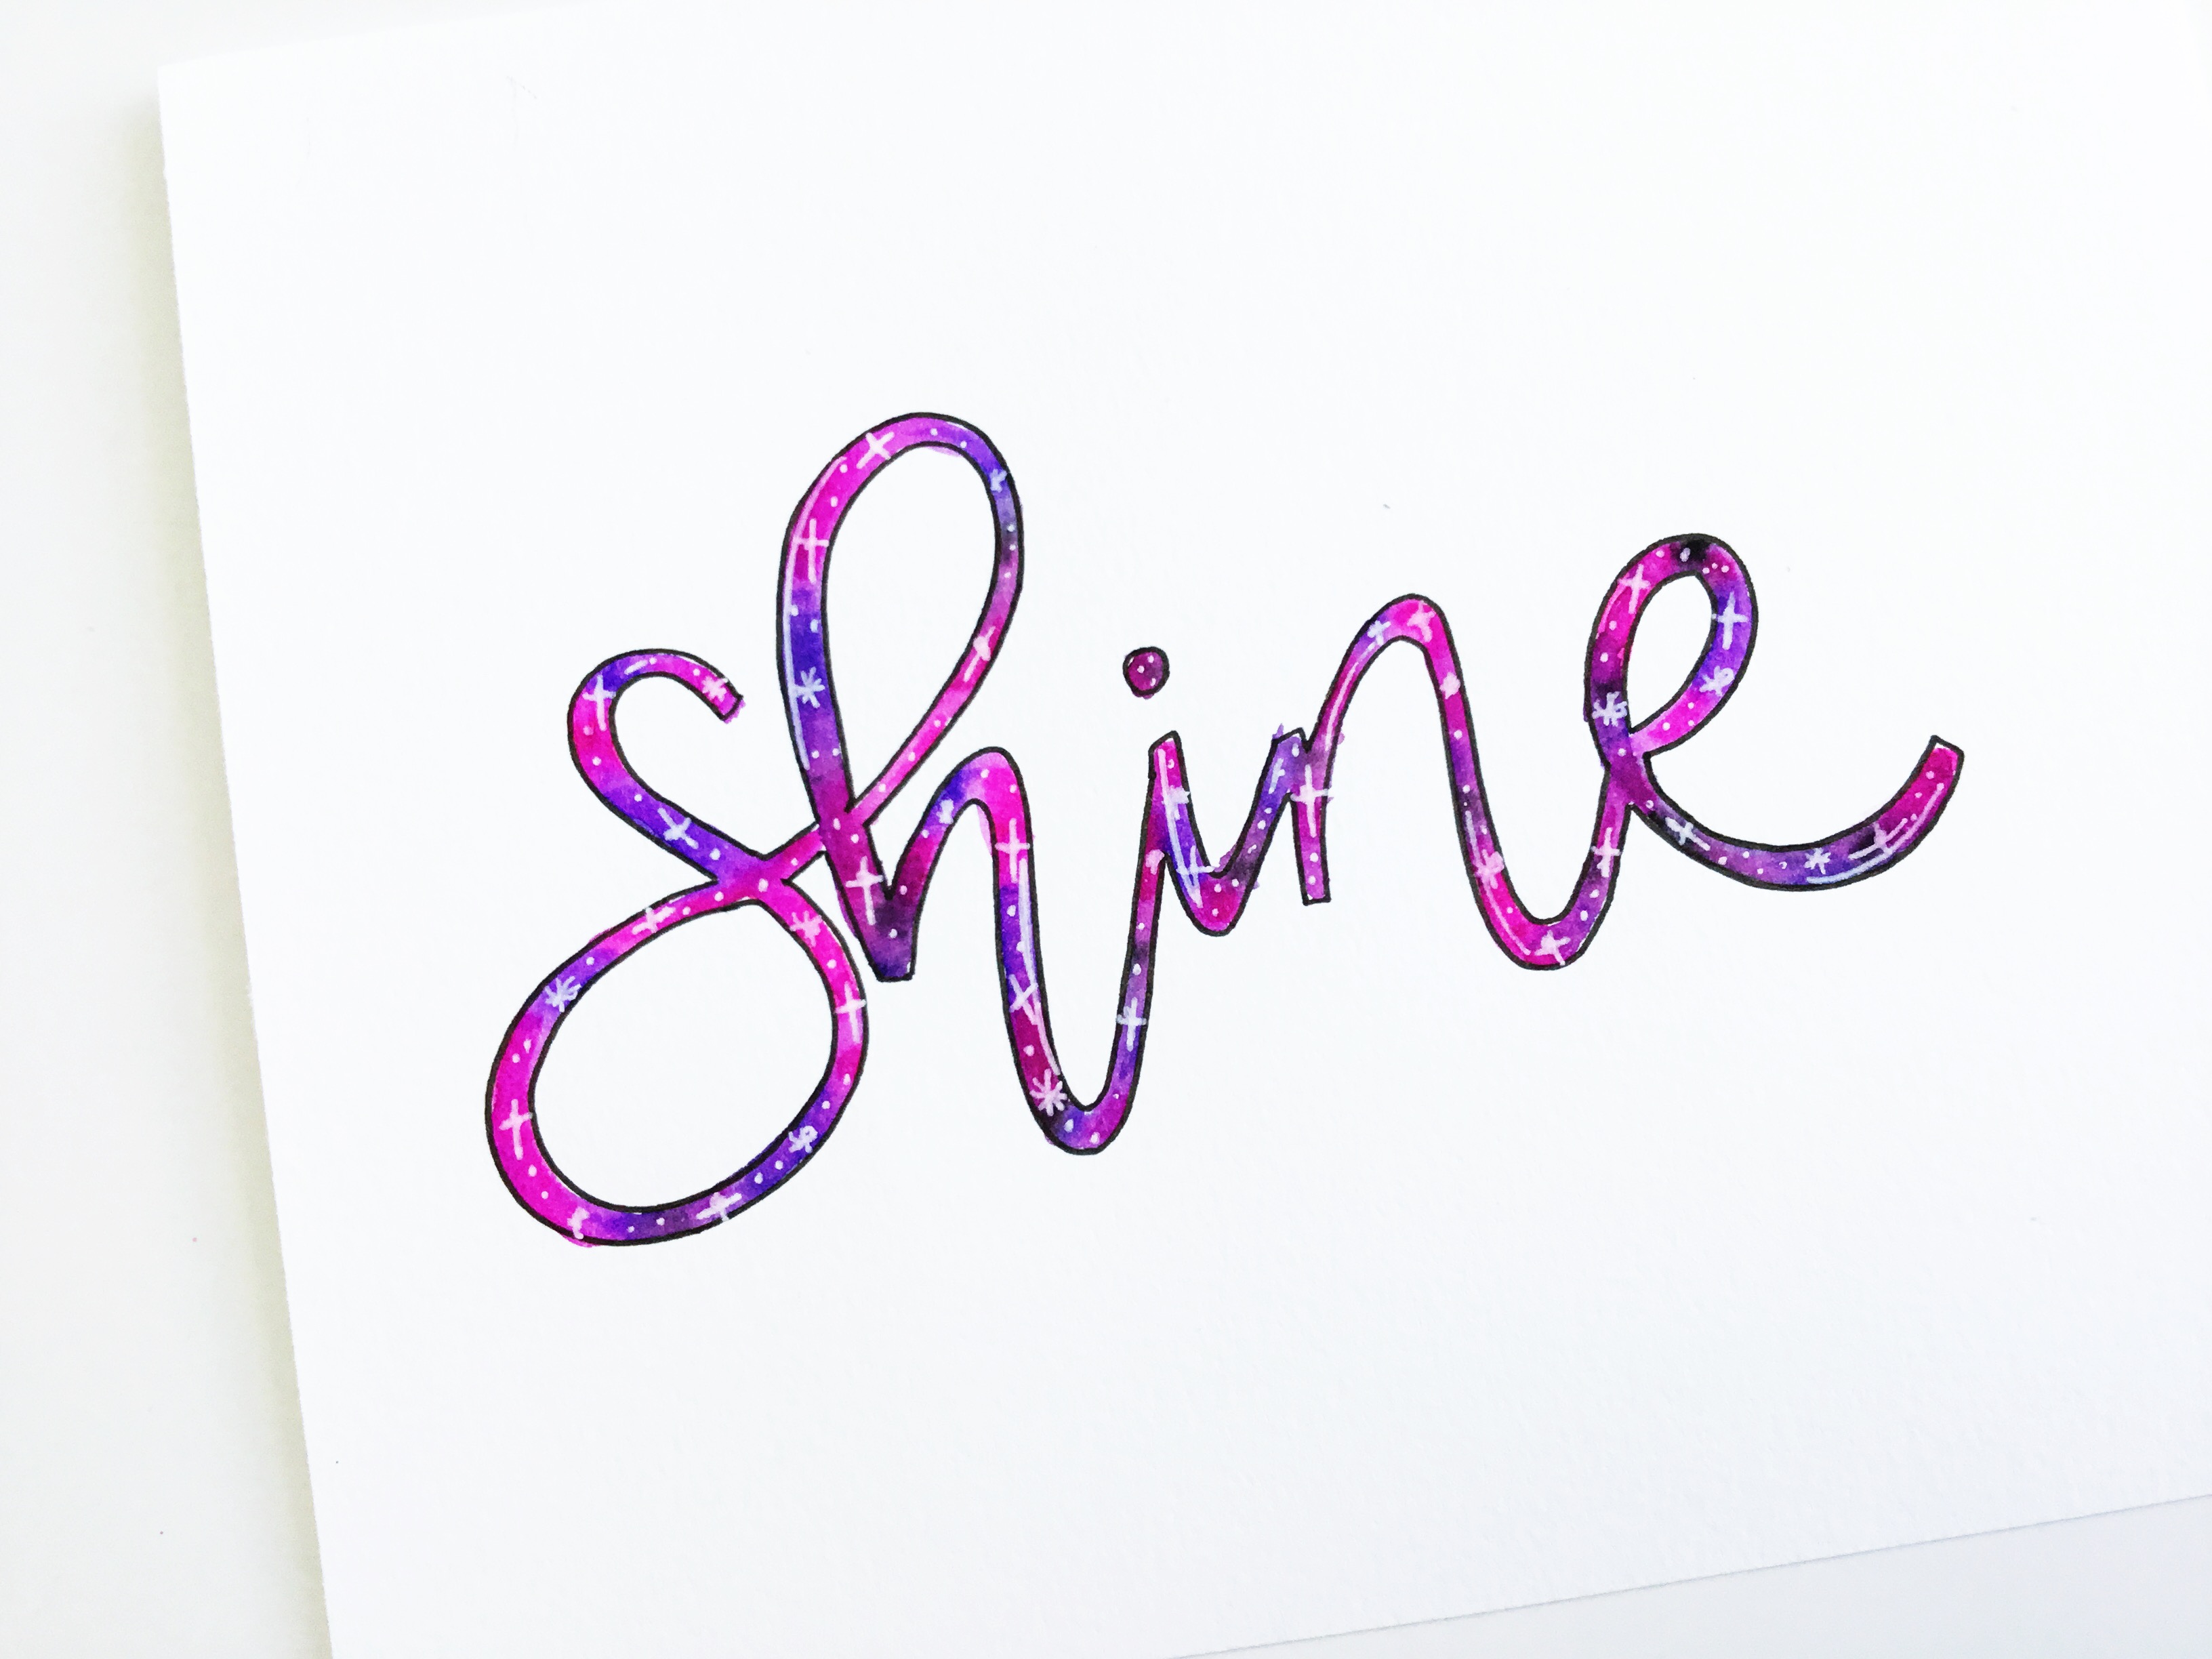
Who says galaxies have to be blue? Let’s do a pink galaxy! Using brush pen no. 606, 725, 755 & N25, add a little bit of color through the letter space.
Now for the fun part! Using your waterbrush, blend the colors together and watch the magic happen. Do your best to stay inside lines. 😉
After all the colors all blended don’t forget to add the stars!
So, there you go! 3 awesome ways to make galaxy lettering using Tombow Galaxy Brush Pen Set!
Which one is your favorite?
If you give these techniques a try, I’d love to see! Snap a photo no share on Instagram using # amandakammarada
Happy Lettering,








 4 Easy DIY Cards
 3 Ways To Use the Tombow Colorless Blender Pen
 Galaxy Greeting Card