This post contains affliate links. Amanda Kammarada is part of the Tombow USA Affliate Program.
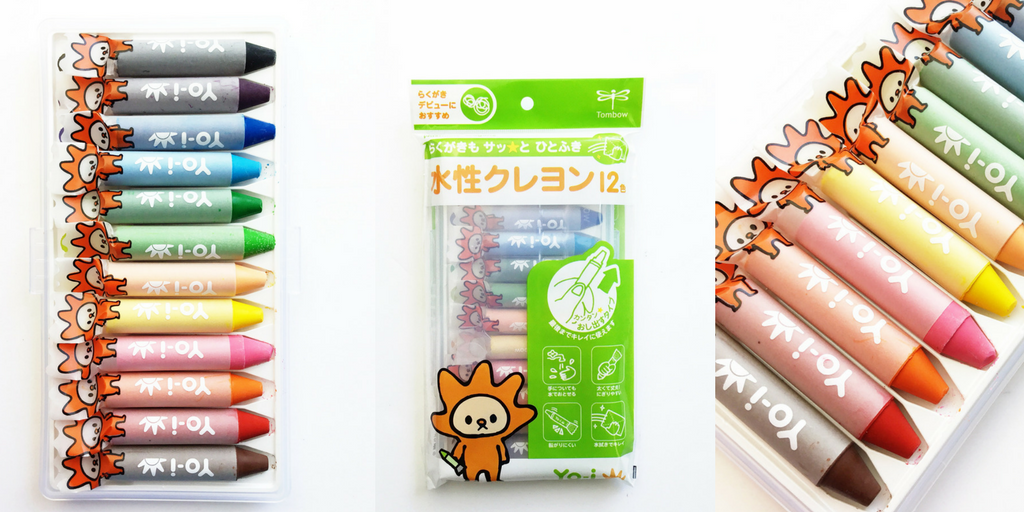
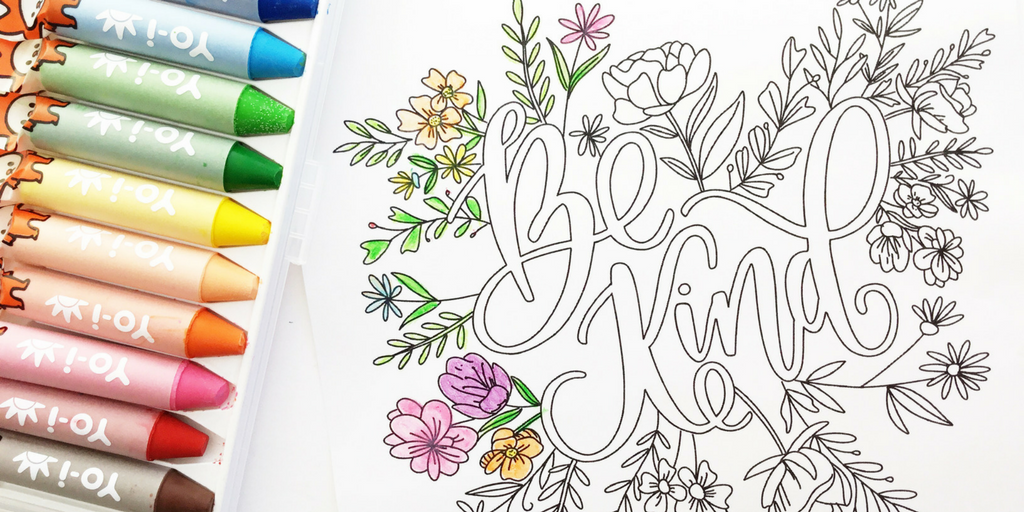
These Tombow Yo-i Crayons are so much fun! I mean, look at that cute little lion on the package. You get 12 colors in a plastic storage case. Each crayon is in a wax paper dispenser, which allows the crayon to be pushed up as it’s used. They are water-soluble and work on many different surfaces- including glass!
So, here’s 4 fun ways to use them!
WATERCOLOR
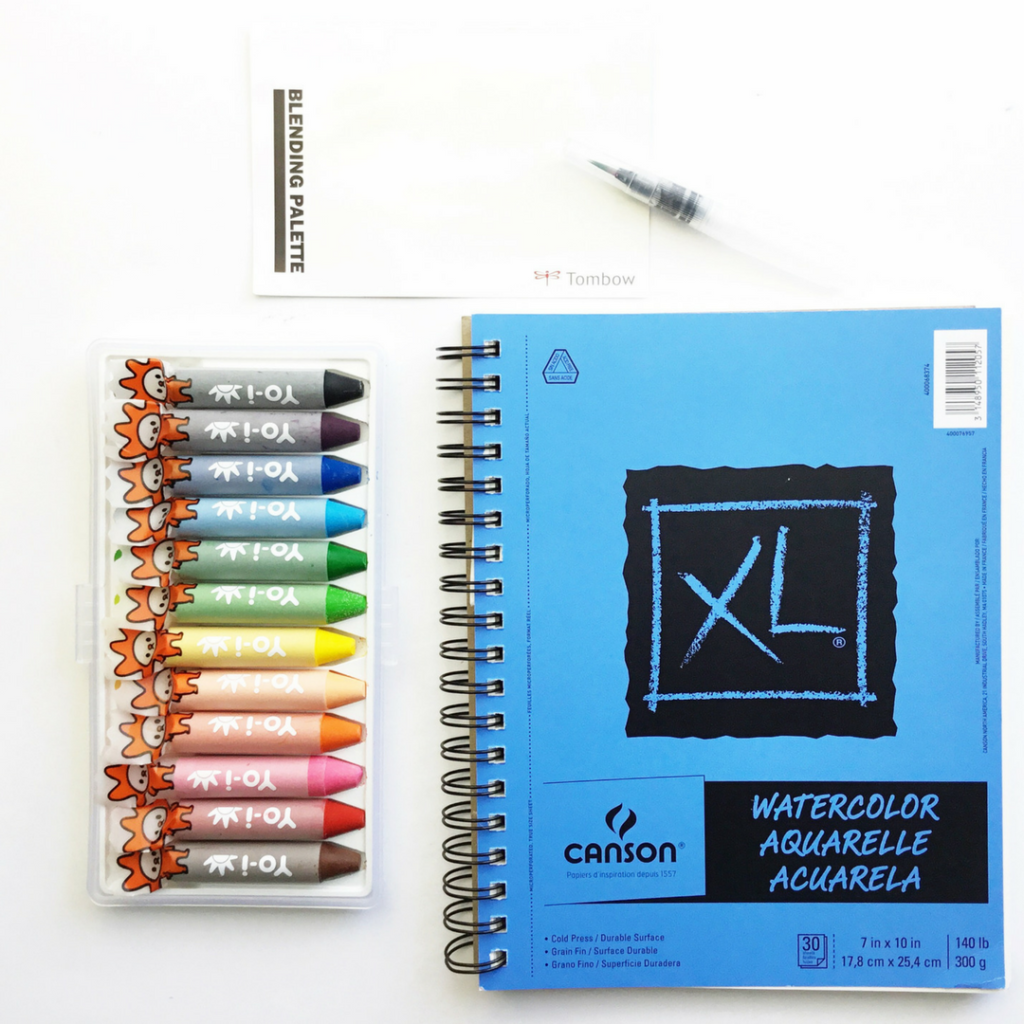
Heres what you’ll need to create watercolor with your crayons:
Tombow Yo-i Crayons * Blending palette * water brush * watercolor paper
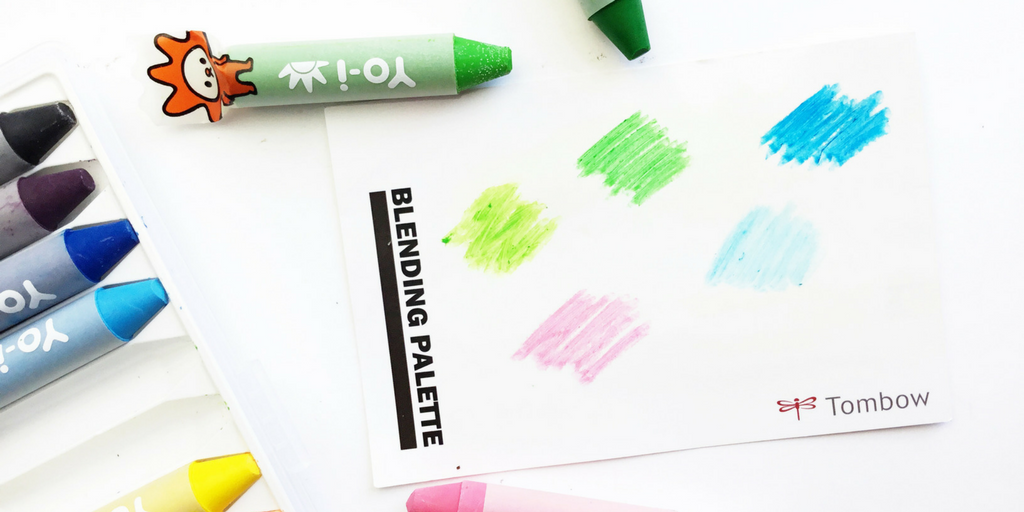
First, rub the crayons out onto the blending palette.
TIP: I recommend rubbing the crayon rather hard so you get a nice thick layer of color. I noticed the colors turned out darker after adding the water with a thicker layer of color.
Don’t have a blending palette? Rub out the color onto watercolor paper instead.
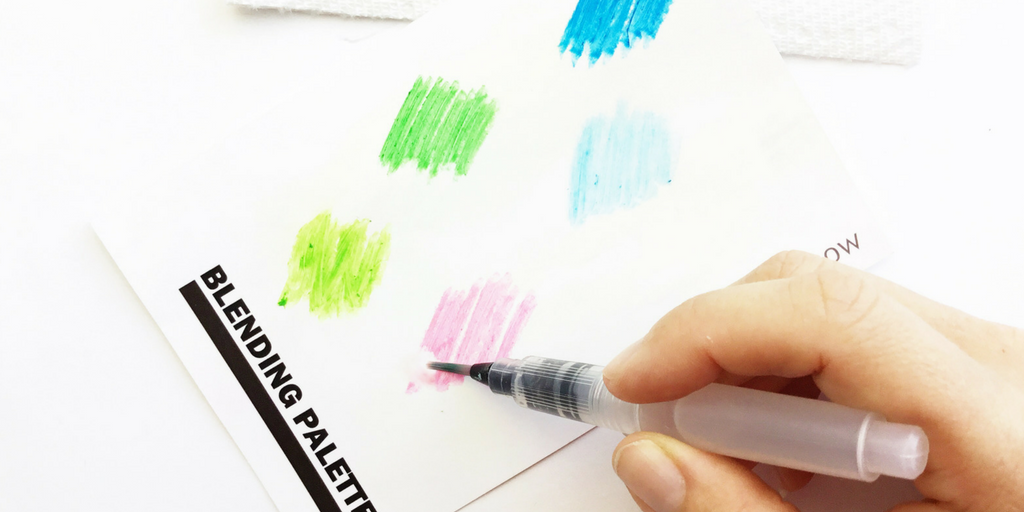
Using a water brush(or wet paint brush), add a little bit of water onto the color. Rub gently to pick up the color onto the brush.
TIP: The less water you use, the darker the color will be once you put it on the paper. Don’t add too much water, or the color will be too watery.
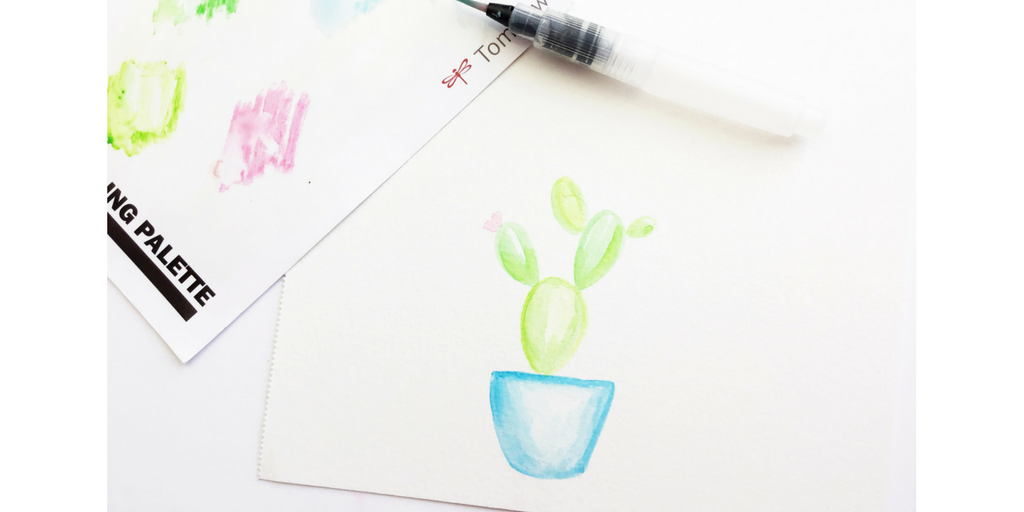
Now paint! The color goes on the paper so easily! Keep a paper towel next to you to clean your brush between colors.
TIP: when painting with watercolor, leave some white space in your shapes. Add more color over certain areas to make them darker. This all helps to ass dimension.
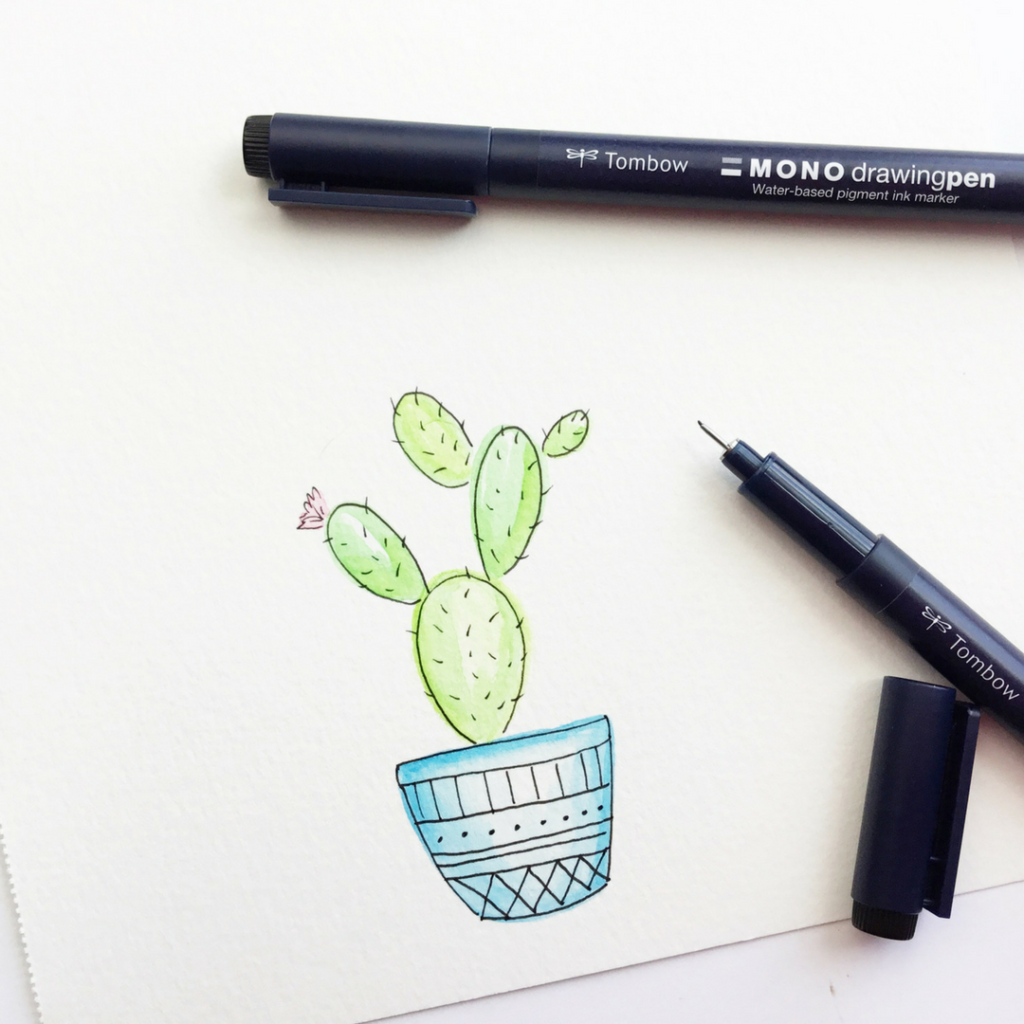
You can even go a step further and add an outline! I love using Tombow MONO Drawing Pens to add fine details.
LETTERING- BLENDING
Not only do these crayons react to water but the colors blend too!
Think back to Elementary School Art Class. Remember learning primary and secondary colors? Keep that in mind when blending your crayons!
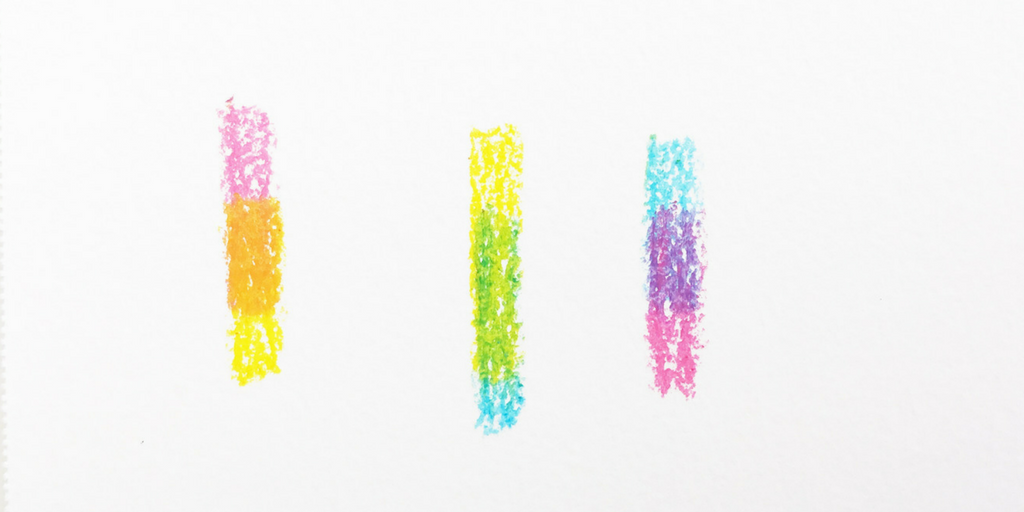
In the photo above:
* pink with yellow colored on top makes orange
* yellow with blue colored on top makes green
* blue with pink colored on top makes purple
Let’s do some fun blended lettering!
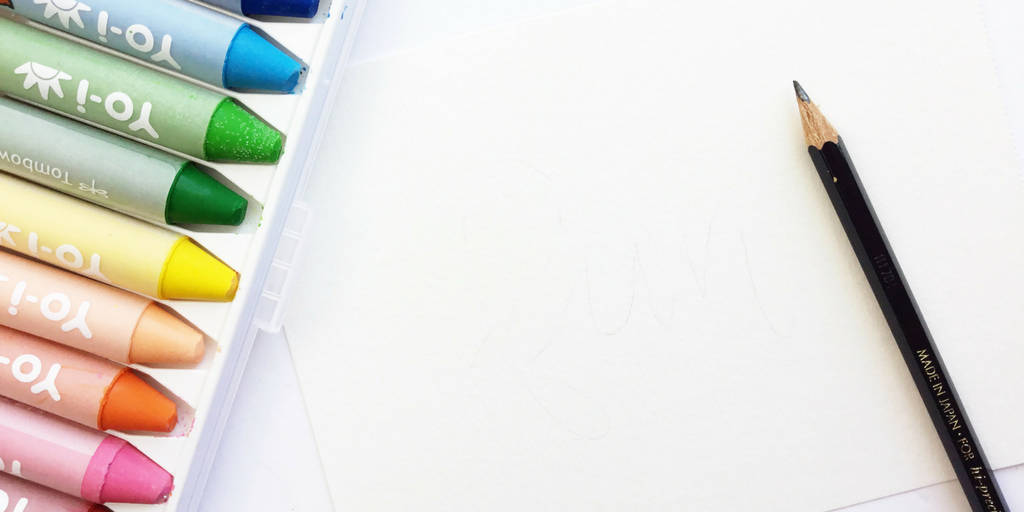
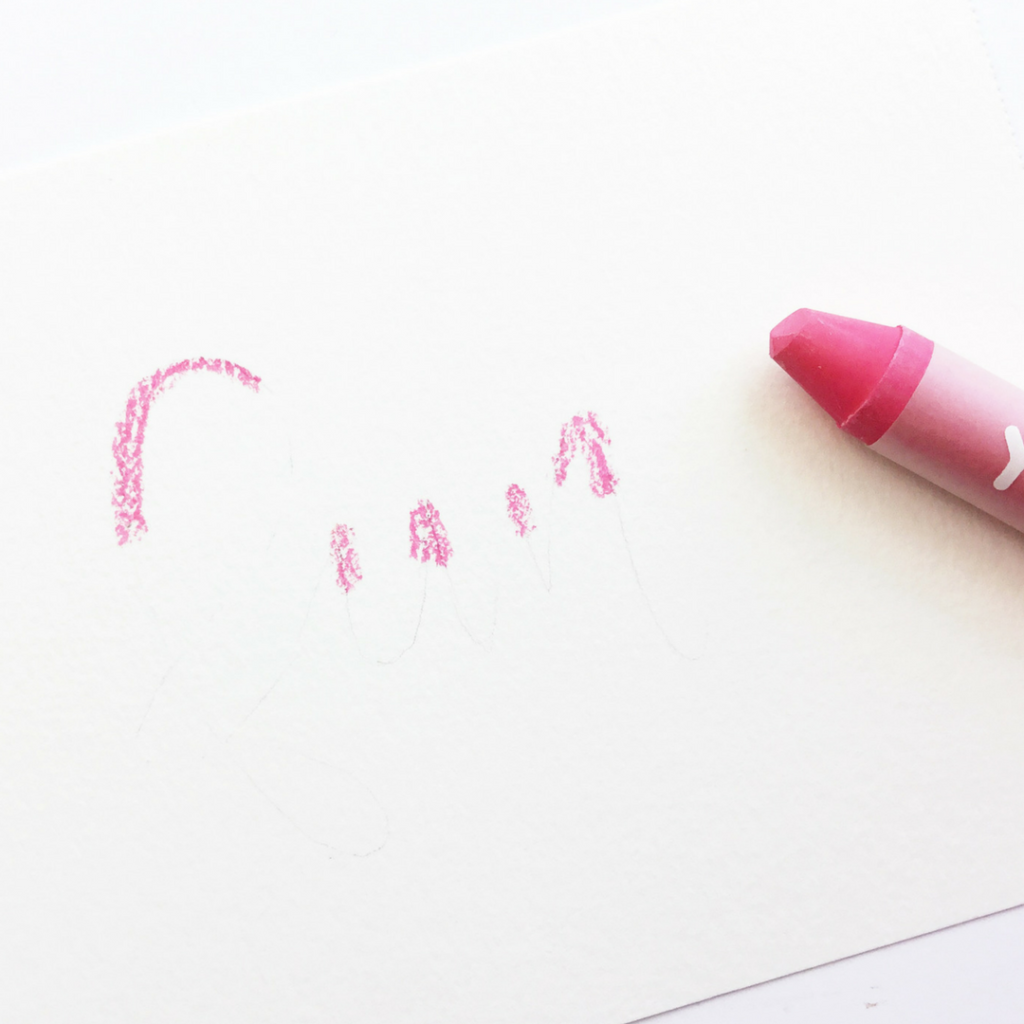
I’m using watercolor paper for this technique. A mixed media paper would work nicely too. A thicker paper is nicer for this type of blending. I’ve sketched out the word “fun” very lightly. I didn’t make want to make it too dark because the pencil might come through the crayon color.
Starting with pink, I colored just the tops of the letter strokes. I’ll be creating a fun layered effect with the colors.
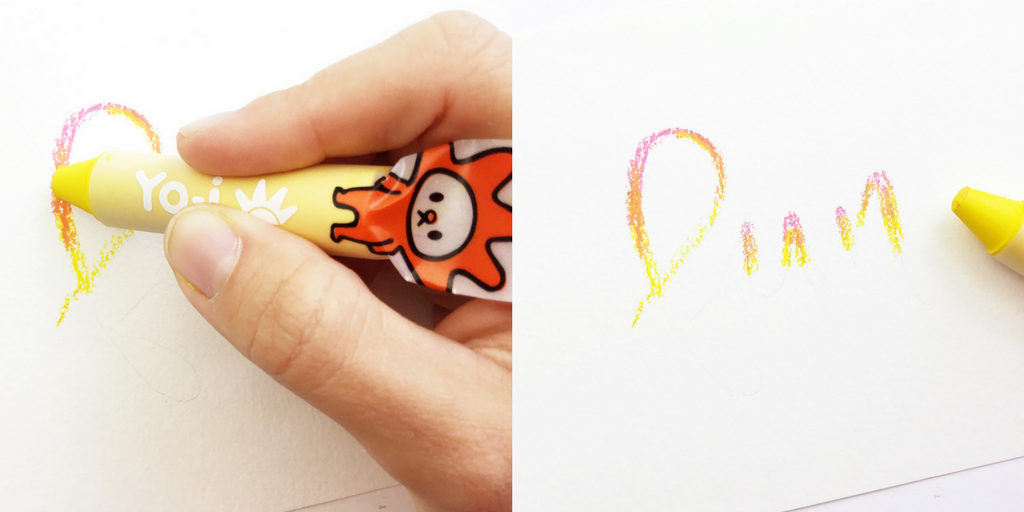
Next, color yellow right over top of the bottom of the pink. You’ll see orange appear. Extend your yellow line down a bit on each stroke.
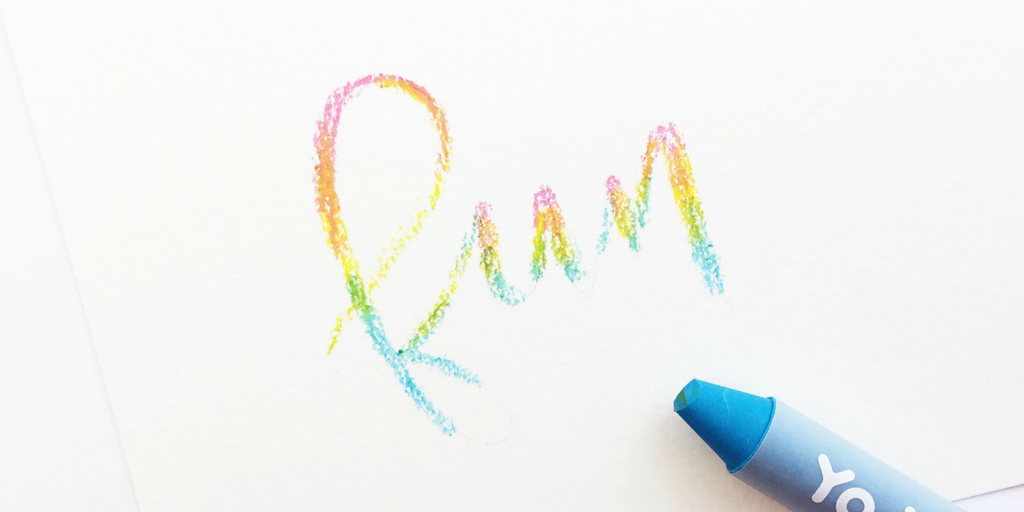
Now add blue. Color blue right over top of the bottom of the yellow. Now you have green! Again, extend the blue down each stroke. See the fun rainbow effect?
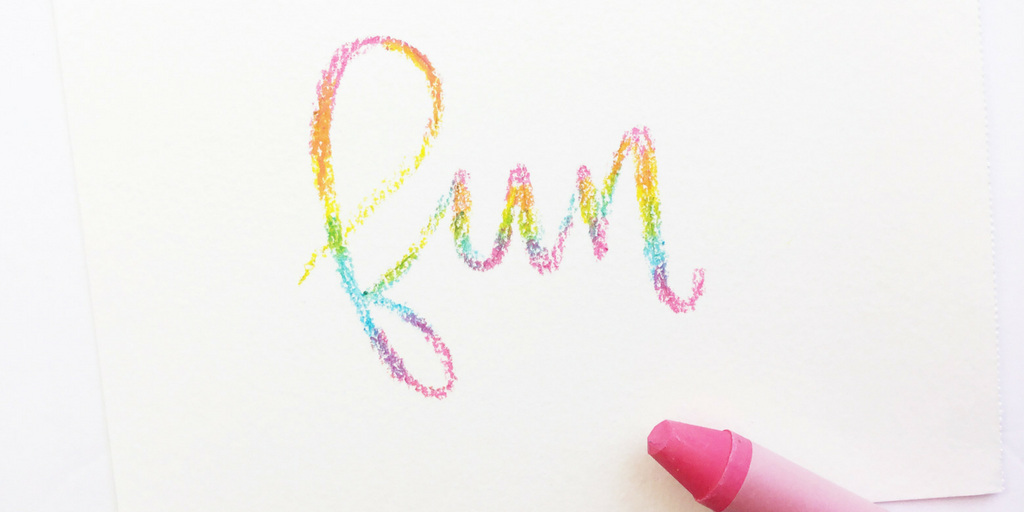
Finish with more pink over top of the bottom of the blue. Now you have purple. Finish each stroke with pink.
And viola! You have a really fun blended efffect! So easy, right?!
COLORING
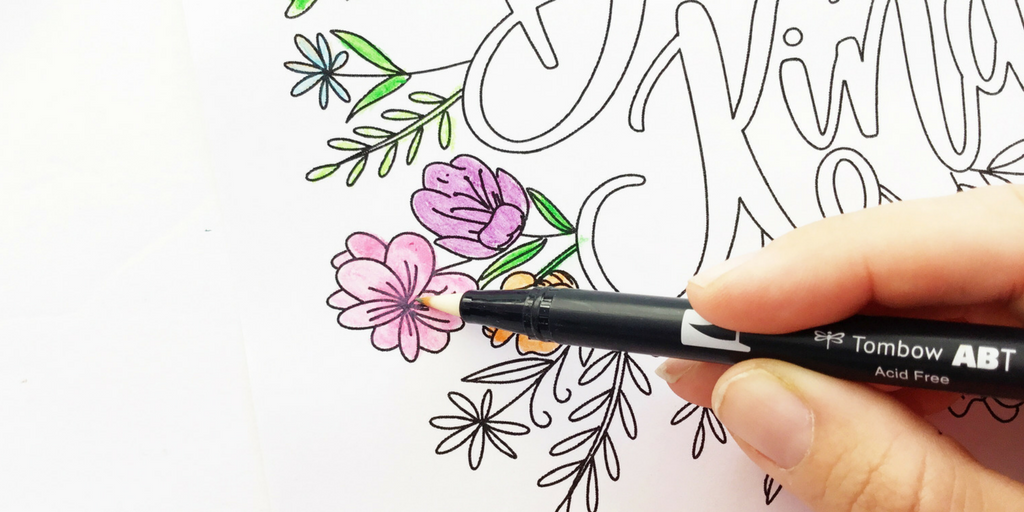
Of course you can use these for coloring! I love coloring florals, so I’ve created this floral “Be Kind” coloring sheet and I’m giving it to you- for free! Download and print it here: BeKindColoringSheet
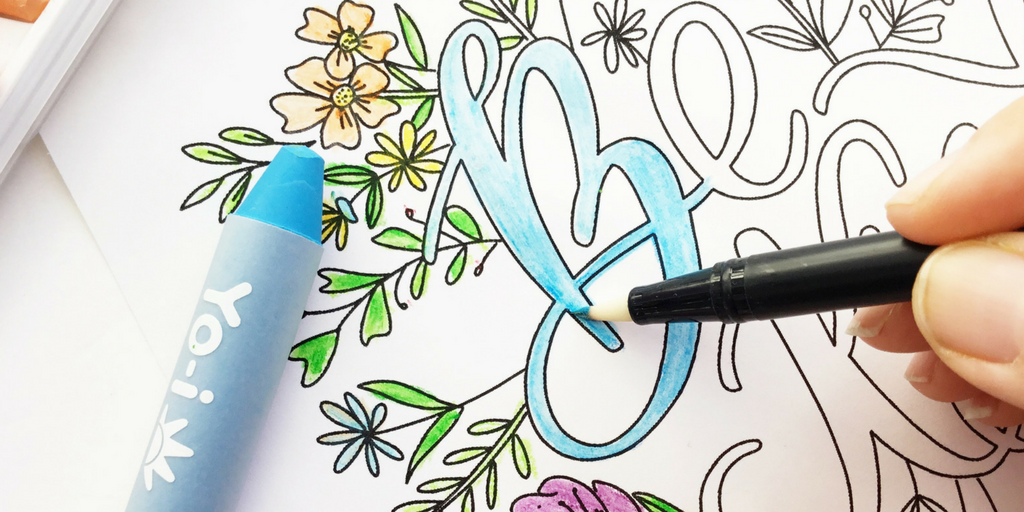
When coloring, layer down a lighter color, then put a darker color on top. Using a Tombow Colorless Blender Pen, blend the colors together for a fun ombré look! You can also use the blender pen to smooth out the colors. You’ll love how smooth they blend.
Use the same technique with the letters too!
WRITING ON GLASS
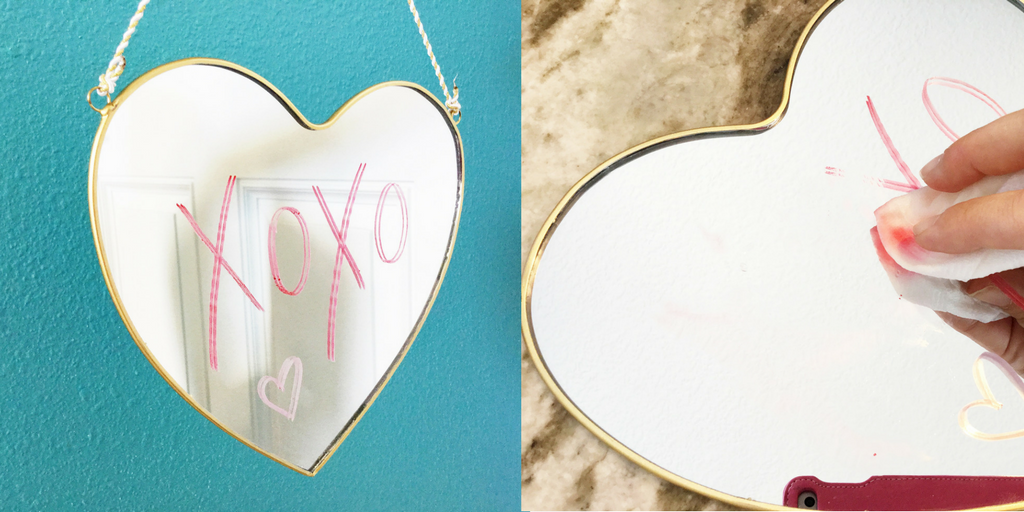
These crayons don’t just work on paper! You can use them on glass, metal, floor or table.
Leave cute notes for your family on mirrors! Or write and draw on a sliding glass door. And the best thing- they wipe off with a wet paper towel.
I hope you love these crayons as much as I do! I’d love to see how you use them. Share a photo on social media and tag # letteritwithamanda & # amandakammarada
follow me on Instagram at @ amandakammarada
Happy Lettering,
 Halloween Ghost Lettering Card
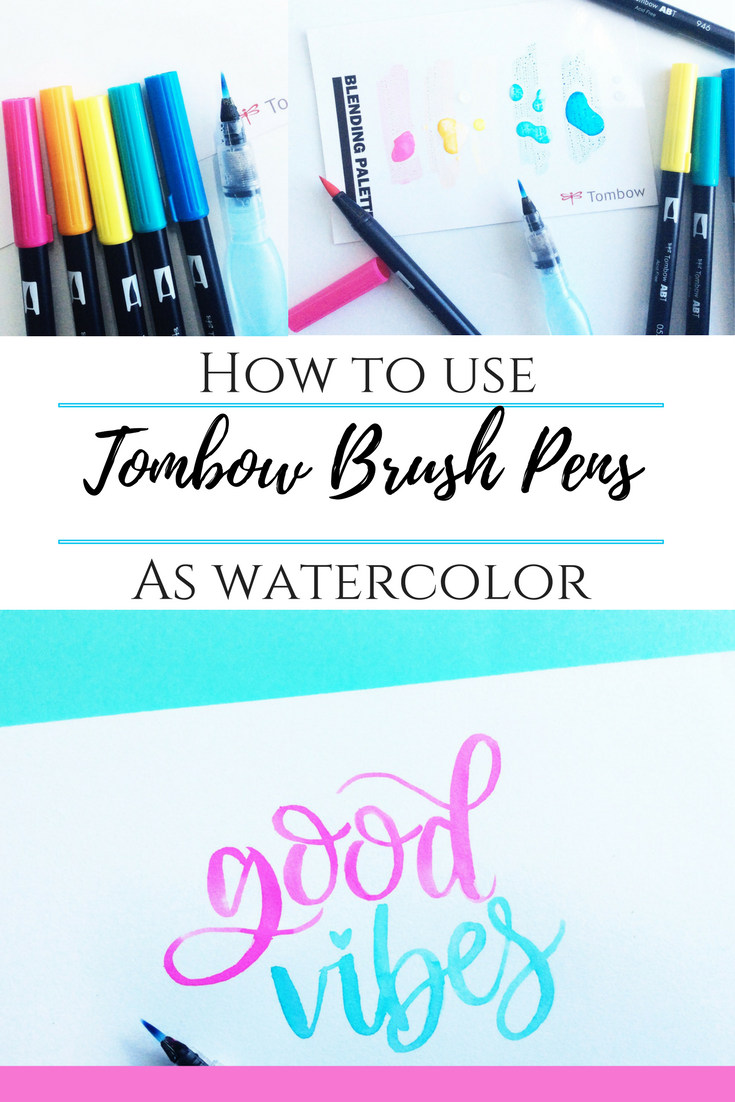 How To Use Tombow Brush Pen As Watercolor
 2 Ways To Create Watercolor With Tombow Brush Pens