This post contains affiliate links. Amanda Kammarada is part of the TombowUSA Affliate Program.
Snail Mail is back! Remember that time when your actual mailbox was filled with birthday cards, Christmas cards, letters, etc…and not your email inbox? Sending an actual card to someone is so much more meaningless than just a text or an email. Today, I’m going to show you how to make a beautiful magical card to send to someone you love- because we all know we could use a little love and kindness to brighten our day.

It’s also Galaxy Week here at Amanda Kammarada Hand Lettering! To celebrate the release of Tombow’s Galaxy Brush Pen palette, I’m sharing easy ways to incorporate that palette into your lettering and other projects. So, let’s get started!
Here’s what you’ll need:
* Tombow Galaxy Brush Pen Set * blending palette * paper (I’m using Canson Mixed Media) * spray mister *
* your favorite brush pen (I’m using the Tombow Fudenosuke) * gold and white pen *
NOTE: The Galaxy palette is a new set but the colors are not new. If you have the 96 set you will need these brush pen no. for the galaxy palette: 755, 725, 443, 555, 269, 676, 606, N55, N25 and the colorless blender.
**************************
STEP 1: cut your paper to the size card you’d like and fold in half.
STEP 2: Using the blending palette place the colors you’d like to use randomly on the palette. Here I’m using brush pen no. 725, 676, 443, N25. Don’t be afraid to experiment with the colors!
STEP 3: Using the spray mister, wet the palette just a little bit. Too much water, and your colors will be running all over the place.
STEP 4: Take the front of your card and place it over top of the blending palette. Gently, and I mean gently, press down to transfer the ink to the card. If you press to hard, the ink can come running out the sides. I like to do this step on a paper towel or piece of paper, just in case.
STEP 5: Pull off the paper and use a paper towel to dab the excess pools of water/ink.
Here’s what it will look like!
STEP 6: Wait about 5 minutes for it to completely dry. Now lets add the lettering! I like to use a pencil to sketch out my words first. My favorite pencil is the Tombow MONO pencil.
STEP 7: Now grab your favorite brush pen to letter! I’m using a Tombow Fudenosuke Soft Tip. Letter over your pencil lines and gently erase when done. Don’t erase too hard! Now comes the fun part- adding the stars. I like to use a combination of gold and white. The gold gives it some added sparkle! Add dots and star shapes around the lettering.
And that’s it! Write a special note inside and mail it off to someone special!
If you try out this tutorial I’d love to see what you make! Snap a photo and share on Instagram and be sure to tag @ amandakammarada
Happy lettering,


 DIY Envelope Liner
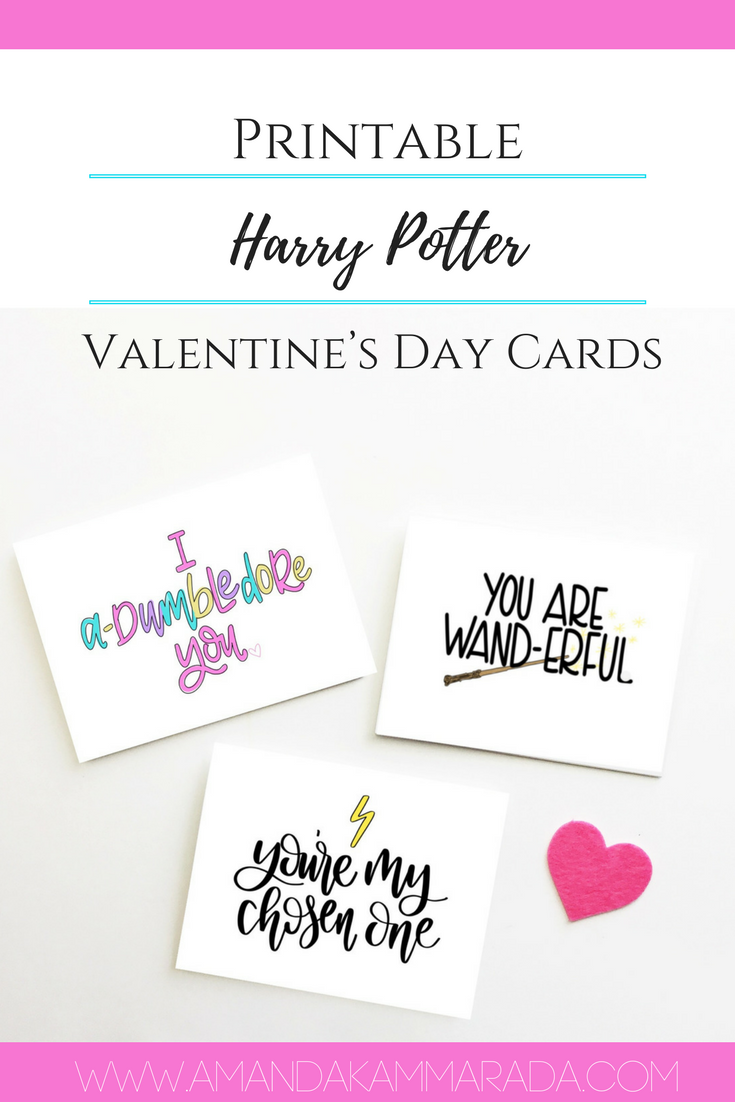
 Printable Harry Potter Valentine’s Day Cards
 Yoga Themed Coloring Sheets