This post contains Affliate links. Amanda Kammarada is part of the TombowUSA Affliate Program.
One goal in my hand lettering journey was to teach others this artform I had become so passionate about. A little over a year ago I joined the team at The Paper Seahorse, a paperie in South Tampa, teaching brush lettering classes. In this post I’ll be sharing my experience, along with tips for you to teach your own workshop!
WHAT YOU’RE GOING TO TEACH
The first class I taught (and remains to be the most popular) is Tombow Brush Lettering 101. This class is for beginners- students that want to learn how to use a brush pen and brush letter. They have no or little experience with hand lettering. From there, I needed to decide on the following things:
* content to cover * tools you will give your students * supplies * your time frame * class size * price * location *
LOCATION
You’ll need a location to host your class. I was approached by The Paper Seahorse, so I didn’t have to seek out a location. My advice for that though, is to look around your local town/city for paperie or makerie establishments that have a good hosting space. If you don’t have stationery stores like that, find a location that has a large space your local library. Don’t be afraid to put yourself out there!
Your location will determine how many people you can have and keep in mind a set up. You’ll need space for each person to sit comfortably, tables (flat surface for writing) and a space for you to demonstrate.
PRICING
How much will you charge each student? Pricing is always a hot topic and an important one. You want to make sure that you are getting paid for your time and talent. If your working with a location as I do, you can work out a pricing plan together.
When determining price, It’s important to price out how much you will be spending on materials (pens, paper, packets, etc.), any fees for the location as well as a rate for your time.
CREATING CONTENT
Coming from a teaching background (I have a degree in Elementary Education), mapping out the lesson was easy for me. If you don’t have that experience, here are some tips:
* Establish a clear objective- what do you want the students to learn and how are they going to learn it
* What do you want your students to be able to do by the end of the class and how will they show you
For my class, since it’s for beginners, I had to think back to when I was learning to letter. What did I want to know? Where did I start?
Your lesson should consist of teacher guiding, then students practicing and at the end the students will apply their skills on their own.
Here’s an outline of my class-
My class schedule:
Basic Strokes
Lowercase Alphabet
How to connect letters to make words
Students make their own greeting card
LESSON PLANS
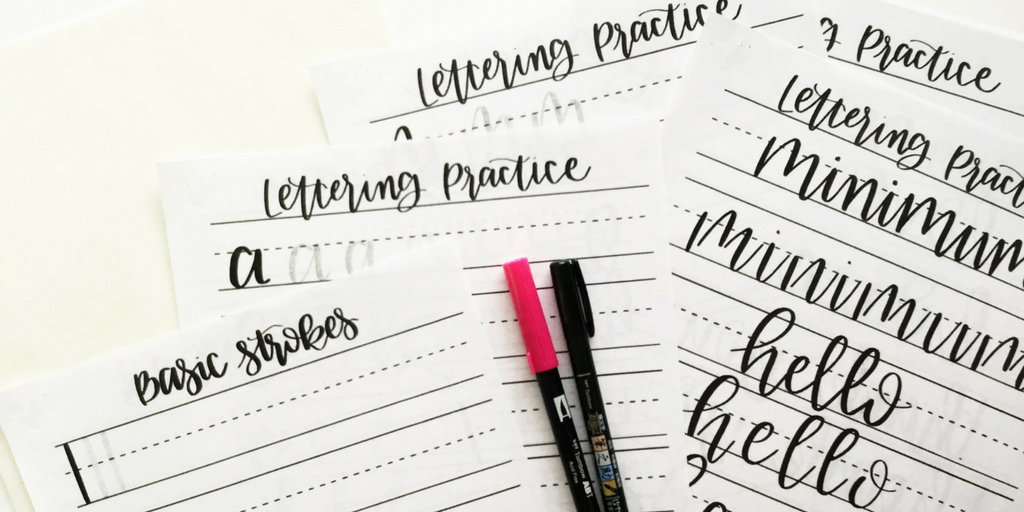
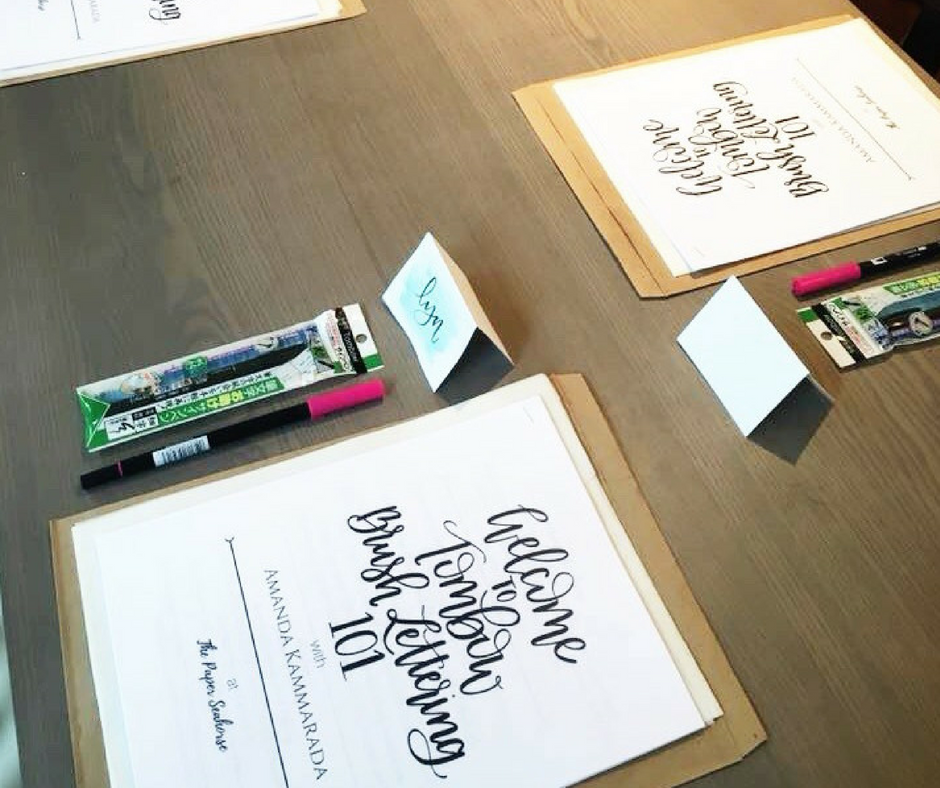
I created a packet for each student. Here’s what I included:
* Practice sheets: basic strokes, lowercase alphabet, uppercase alphabet, making words *
* List of tools used and where to purchase * Tips and tricks for beginners *
Keep in mind how much time you will have. My class is 2 1/2 hours. I don’t have time to go over an uppercase alphabet in that time, but they have those sheets to practice at home.
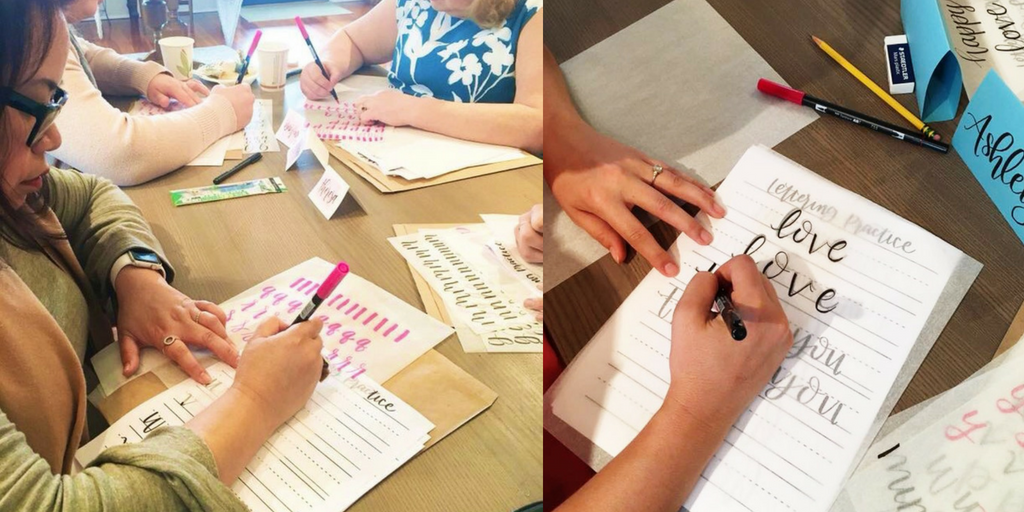
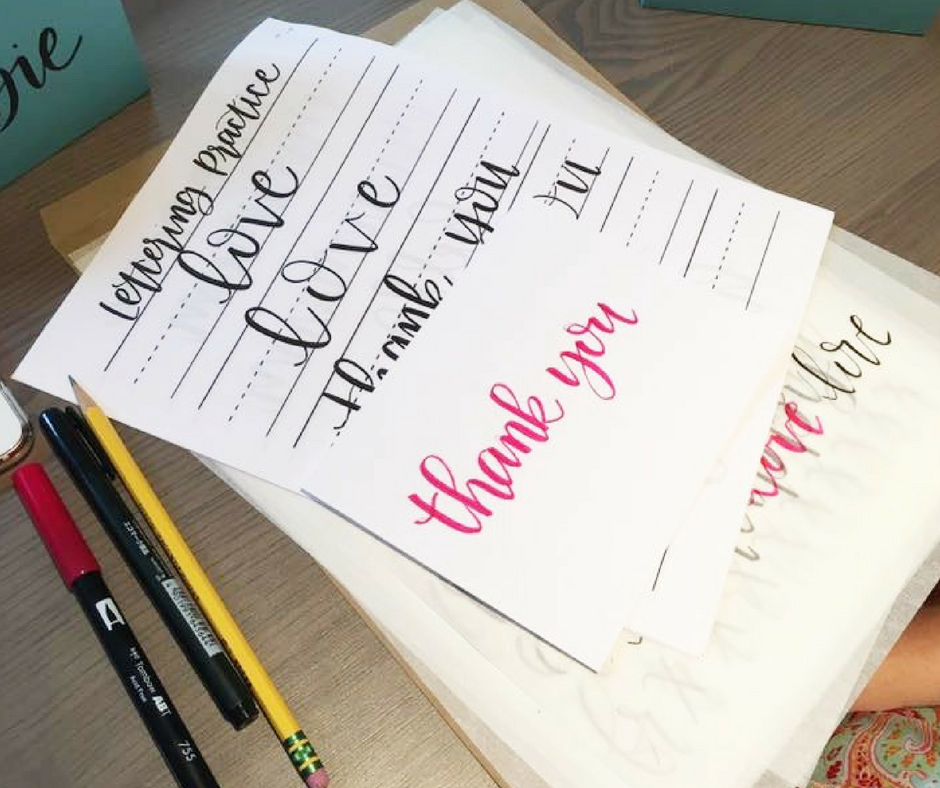
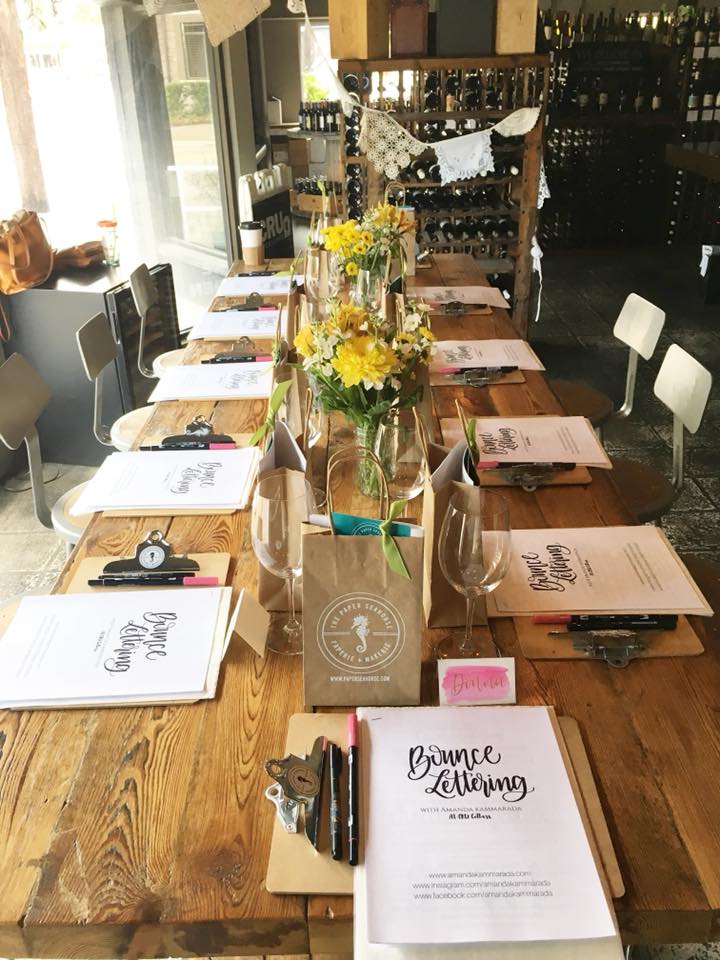
I photocopy my packets at the UPS Store. Since the practice sheets are on regular copy paper, I provide my students with tracing paper to place on top of their sheets. I also give them a white blank card and envelope for the take home project at the end of the class.
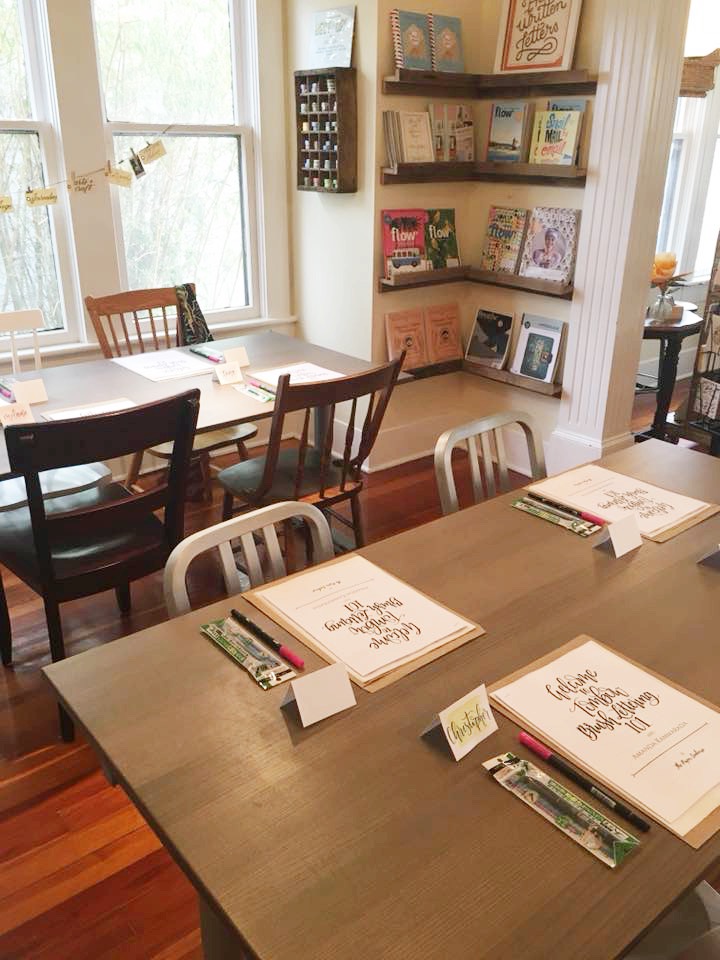
I also make each student a name tag. I love showing them how their name is written in brush script and it allows them to easily find a seat.
SET UP
I set up the tables so each person has a comfortable space to sit and can clearly see where I’ll be demonstrating. Also, make sure you have enough room to walk around. I layout a packet along with the pens at each spot. I include a name tag too!
Depending on your location, you can serve some light refreshments too. My classes start at 10 AM so most people bring their coffee. Make sure you have enough room at your tables for packets and beverages. You don’t want the students to feel too cramped!
TEACHING THE CLASS
To start, I go over the packet and talk about what will be covered during the class. I explain a bit about paper choice and why we will use tracing paper.
Next, I go over the pens that they have in front of them. I provide them with Tombow brush pens- a Fudenosuke soft tip and Dual Brush Pen. Tombow is my go-to brand and I love the Fude soft tip for beginners because of the flexible tip. I highly recommend it! I start them first with the Fude soft tip. How to hold the brush pen is so important to go over. I show them the proper angle (45 degrees) and explain that the correct angle allows the tip to maneuver easily to create those thin and thick lines and prolongs the life of your pens.
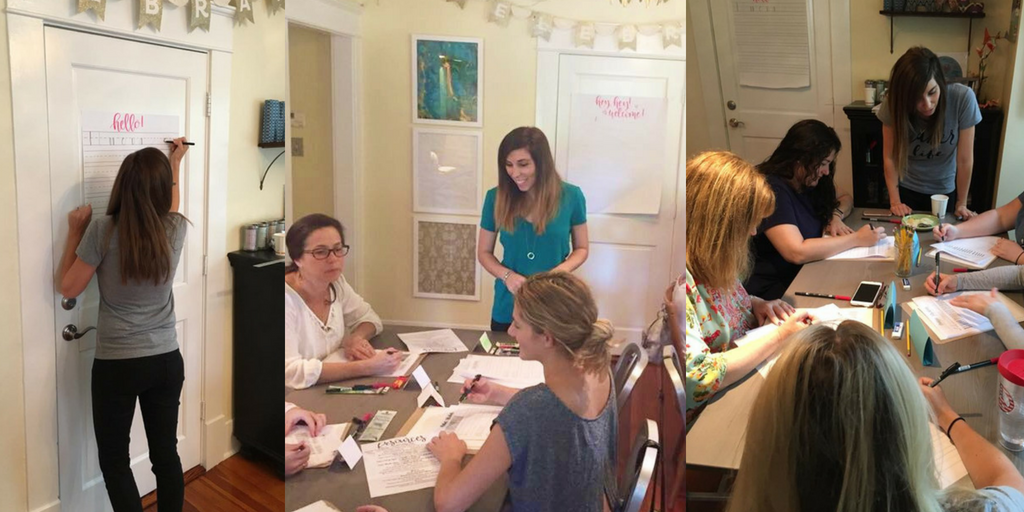
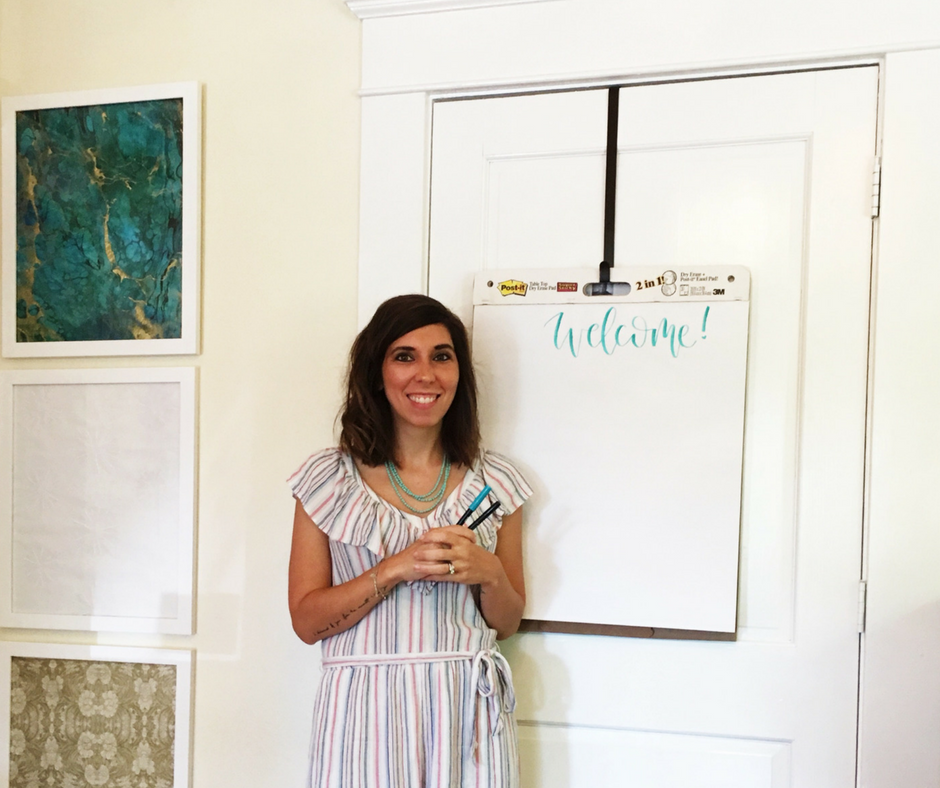
Then we get started! I demonstrate on a large paper chart in the front of the room. It can be easily seen by all. First up, the basic strokes. I explain and name each one, demonstrate it and then have them practice. While they are practicing, I walk around to each table and watch. Make sure to encourage each person and correct if you have to. Then we move on to the lowercase alphabet. I do the same thing for each letter- talk about the basic strokes, demonstrate and walk around while they practice. During these times I take questions too. Half way through the alphabet, we switch to the Tombow Dual Brush Pen. We then move onto putting letters together to make words. I explain and demonstrate, then have them do some examples.
Now, we move on to the application part of the lesson. The students will apply what they’ve learned by lettering a take home project. I have them letter a “thank you” card. I do walk them through how to letter the words first in pencil. Then they choose which pen they want to use to letter with.
Whew! Seems like a lot, but once you get through your first workshop, it’s a piece of cake. My best advice is to relax and have fun. You might be thinking, what if I have nothing to say? I promise, you’ll find things to say. Share tips throughout; tell your own personal lettering stories. Before the class, write down and rehearse some important things you definitely want to cover. Bring some notes if you have to! You’ll probably feel nervous for the first 10 minutes, but once you settle in, everything will be just fine. Remember, you’re the expert. They are excited to learn from you!
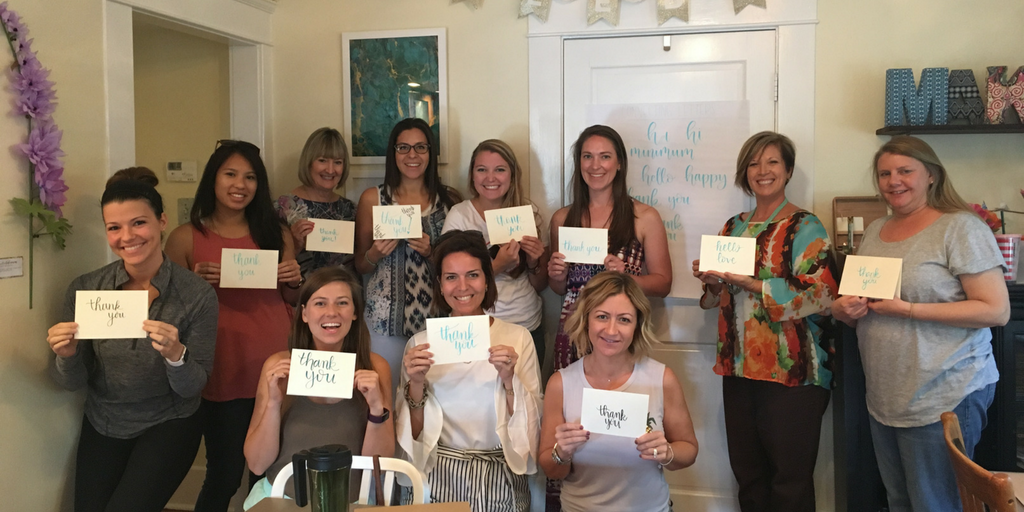
I always take photos throughout the class and encourage the students to take them too. At the end of class, we take a group photo where they show off their thank you card. It’s important to instill some self confidence!
My top things to cover during the class:
– how to hold the pen
– upstrokes (little pressure) & downstrokes (heavy pressure)
– learn the basic strokes first- those are the foundation of forming letters
– practice builds muscle memory
– your hand will hurt during class- your muscles aren’t used to holding a pen this way
– hand lettering- the art of drawing letters
– PRACTICE, PRACTICE, PRACTICE
and finally, my favorite quote: Practice makes progress. I make sure to reiterate that learning to lettering takes daily practice. You won’t get good at something without practice. Frustration is common, but don’t get discouraged. Keep going. Make sure to share your personal lettering journey.
Most important- just enjoy it.
Happy Lettering,

 Printable Ice Cream Cone Wrappers
 What I’m Loving: July Edition- My Favorite Things
 You’re One In A Melon Free Printable Card
Thanks for this post, Amanda! I’m trying to get up the courage to teach, and this was a great little boost!
You can do it!
Very well done. You might want to consider getting your hands on a document camera….the modern day overhead projector. It make a HUGE difference. Students can see your hand movements in real time and in exactly the way they need to make movements that make the strokes and letters. They are not cheap but so worth it. I recommend the Elmo camera…around $400. Any power point projector works.
Thanks for the tip Jeanine!